So you’re into diecast cars? Awesome! But you’re not content with just buying them off the shelf, right? You want something truly unique, something that reflects your personality, your style, maybe even your dream car. That’s where the exciting world of custom diecast cars comes in. It’s a fun and creative hobby, offering a fantastic way to personalize your collection and create truly one-of-a-kind miniature masterpieces.
This guide will take you on a journey from choosing your base model to the final touches of your custom creation. Whether you’re a seasoned model car enthusiast or just starting out, you’ll find tips, tricks, and inspiration to transform ordinary diecast cars into extraordinary ones.
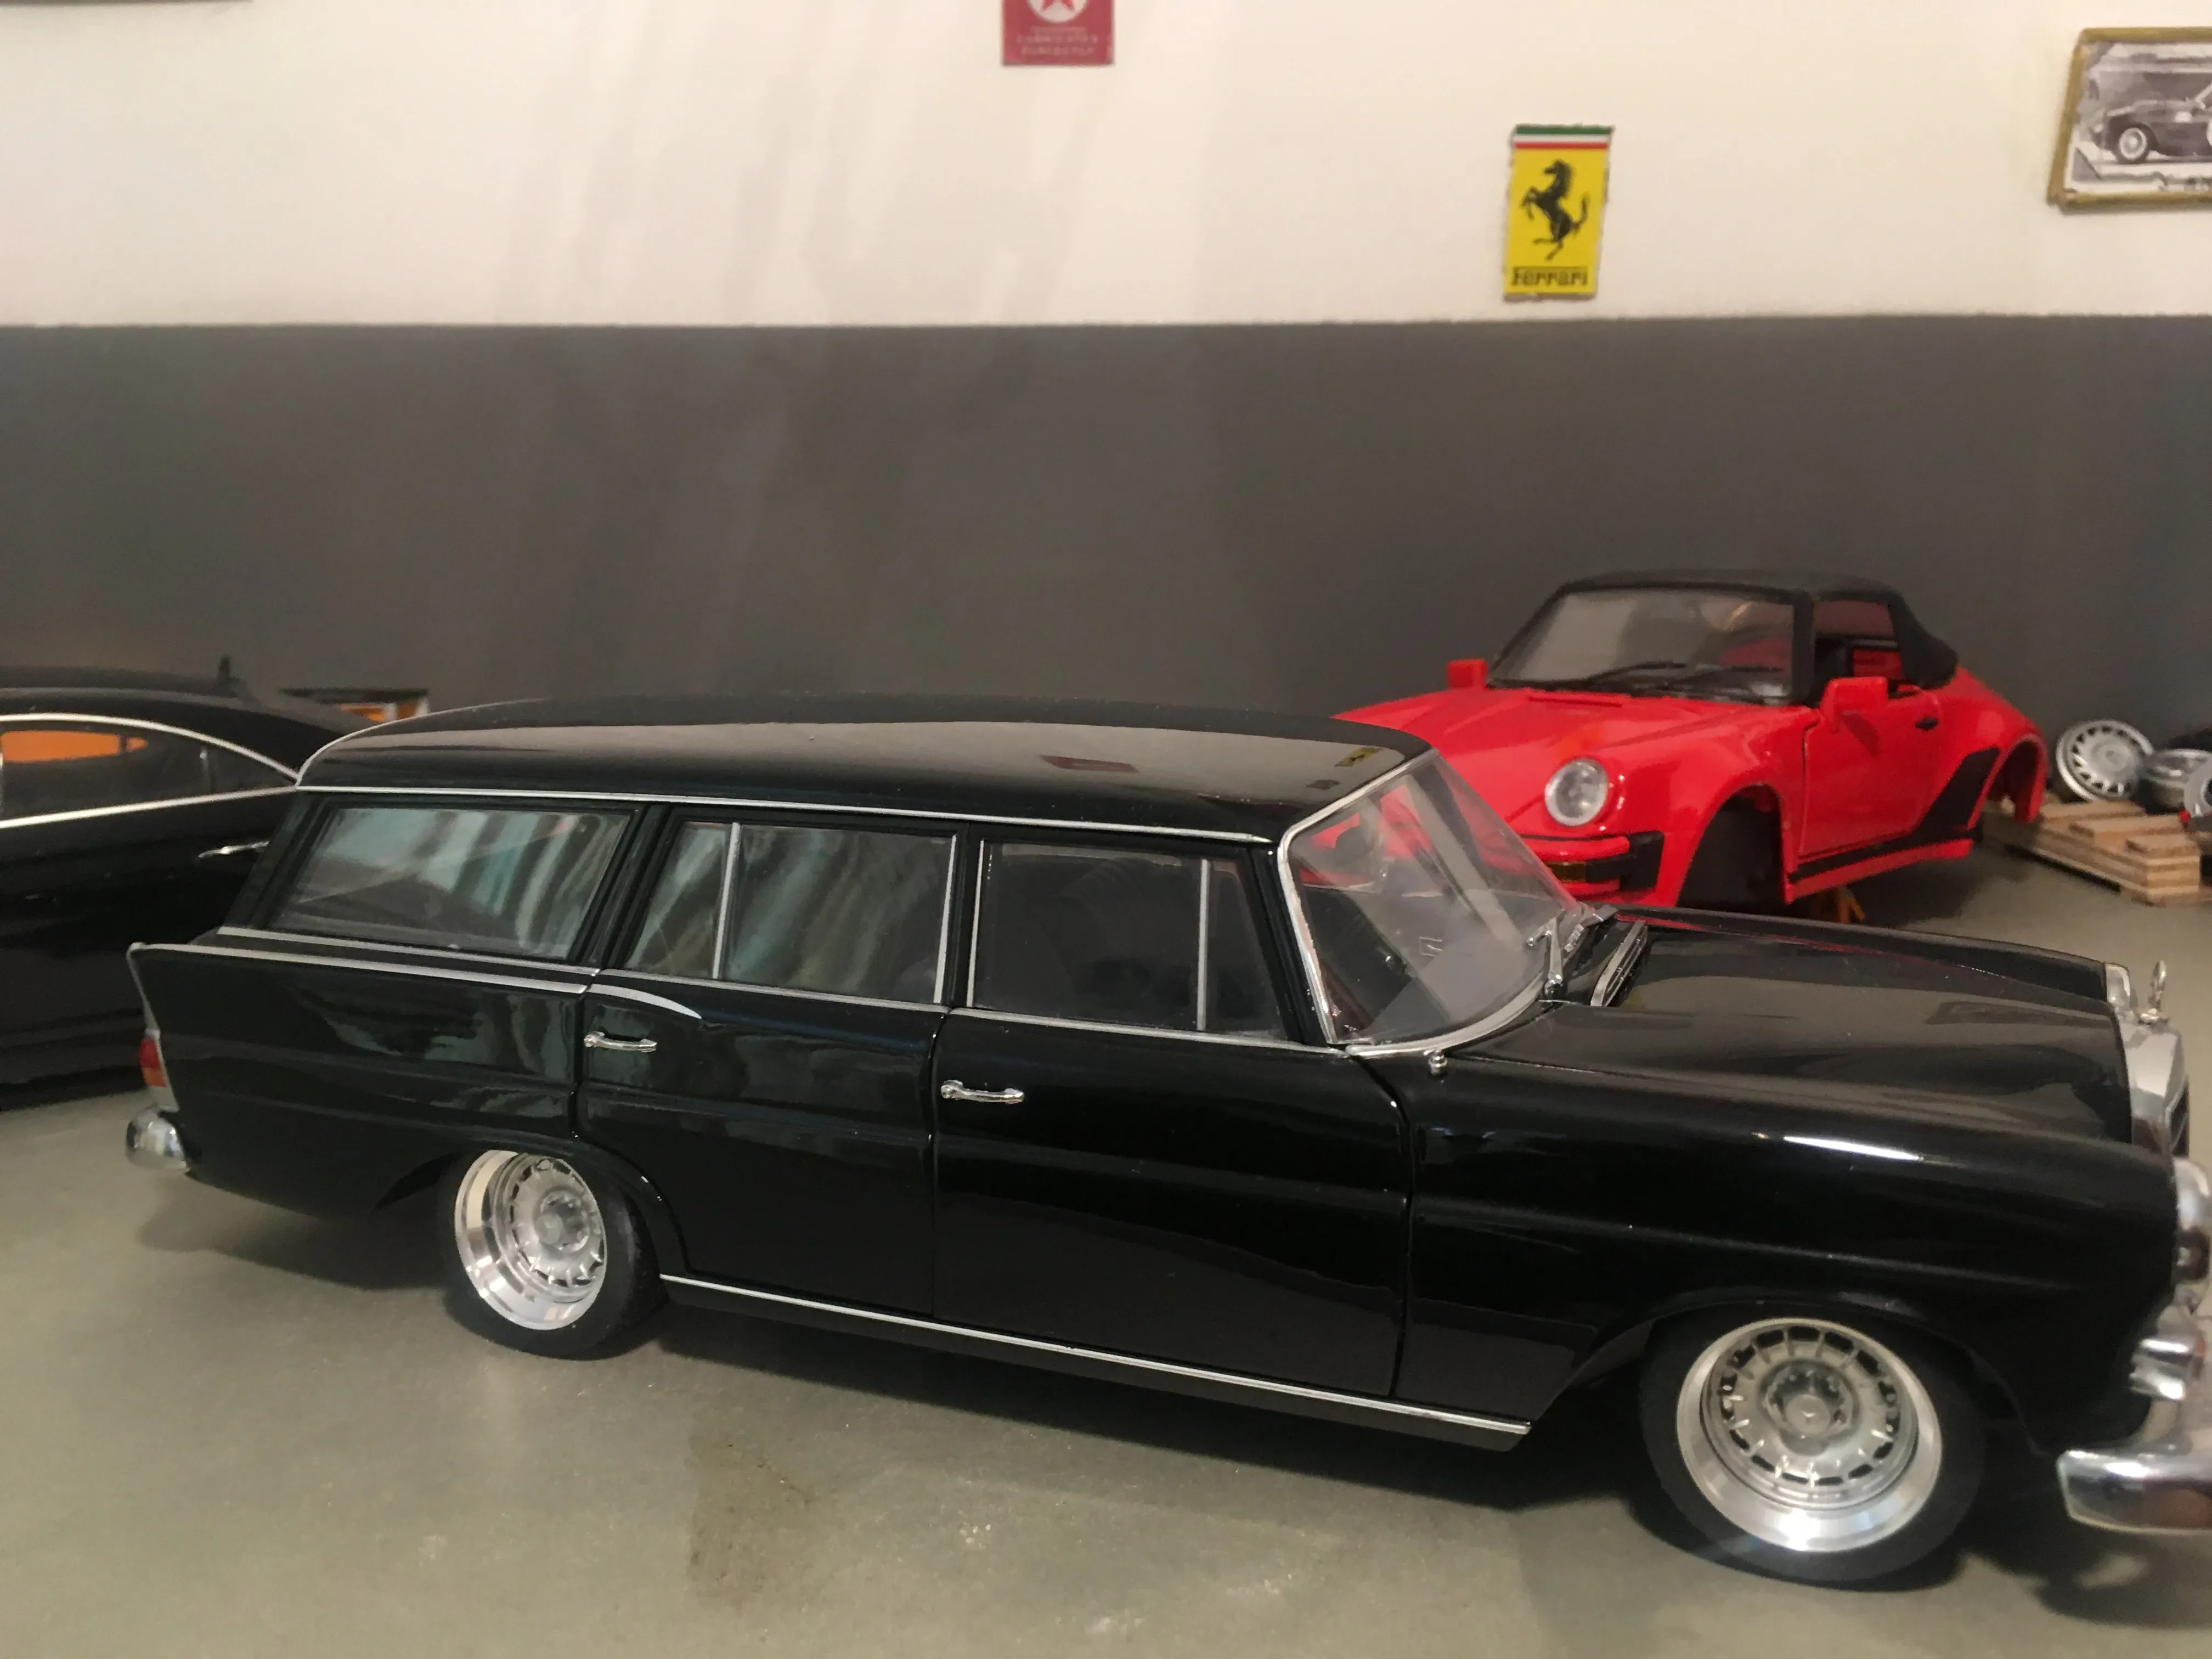
Finding the Perfect Base Model
The foundation of any great custom diecast is a solid base model. Think about what kind of car you want to customize. Do you dream of a classic muscle car? A sleek sports car? Or maybe a rugged off-road vehicle? The possibilities are endless! Once you’ve decided, start searching online marketplaces, hobby shops, or even garage sales for your ideal starting point. Consider the scale (1:18, 1:24, 1:64 are popular), the brand (Hot Wheels, Matchbox, AutoArt, etc.), and the overall condition of the model. A clean, undamaged car will give you the best results.

Essential Tools and Materials
Before you start customizing, gather your tools and materials. You’ll likely need some basic supplies, like fine-grit sandpaper, hobby paints (acrylics are a good choice), brushes, a hobby knife, and some clear coat to protect your work. Advanced techniques might require specialized tools, which we’ll discuss later.
- Fine-grit sandpaper
- Acrylic paints
- Paint brushes (various sizes)
- Hobby knife
- Clear coat sealant
- Tweezers
- Masking tape

Basic Customization Techniques
Once you have your model and supplies, you can start with some basic customization. This could involve repainting the car in a different color, adding custom decals, or even slightly modifying the body. Start slow, focusing on clean lines and even paint application. It’s better to do multiple thin coats than one thick coat that could run or drip.
Remember to prep your surface properly before painting! Cleaning it with a mild detergent and allowing it to dry completely will ensure proper adhesion of the paint.

Advanced Customization: Where the Fun Really Begins
For more advanced customizations, consider modifying the chassis, adding aftermarket parts (like custom wheels or spoilers), or even creating scratch-built parts. This requires more specialized tools and skills, but the results can be truly amazing. There are countless online resources and forums where you can find tutorials and inspiration for these projects.
Remember, safety first! Always work in a well-ventilated area when using paints and solvents. Wear protective gear like gloves and a mask.
Protecting Your Masterpiece: Sealing and Display
Once your custom diecast is complete, protect your hard work with a layer of clear coat. This will seal the paint, prevent scratches, and keep your car looking its best for years to come. Finally, display your custom creation proudly! Whether it’s on a shelf, in a display case, or even incorporated into a larger diorama, make sure it gets the attention it deserves.

Customizing diecast cars is a rewarding hobby that combines creativity, skill, and a passion for miniature automobiles. So, grab your tools, choose your model, and unleash your inner artist. Happy customizing!