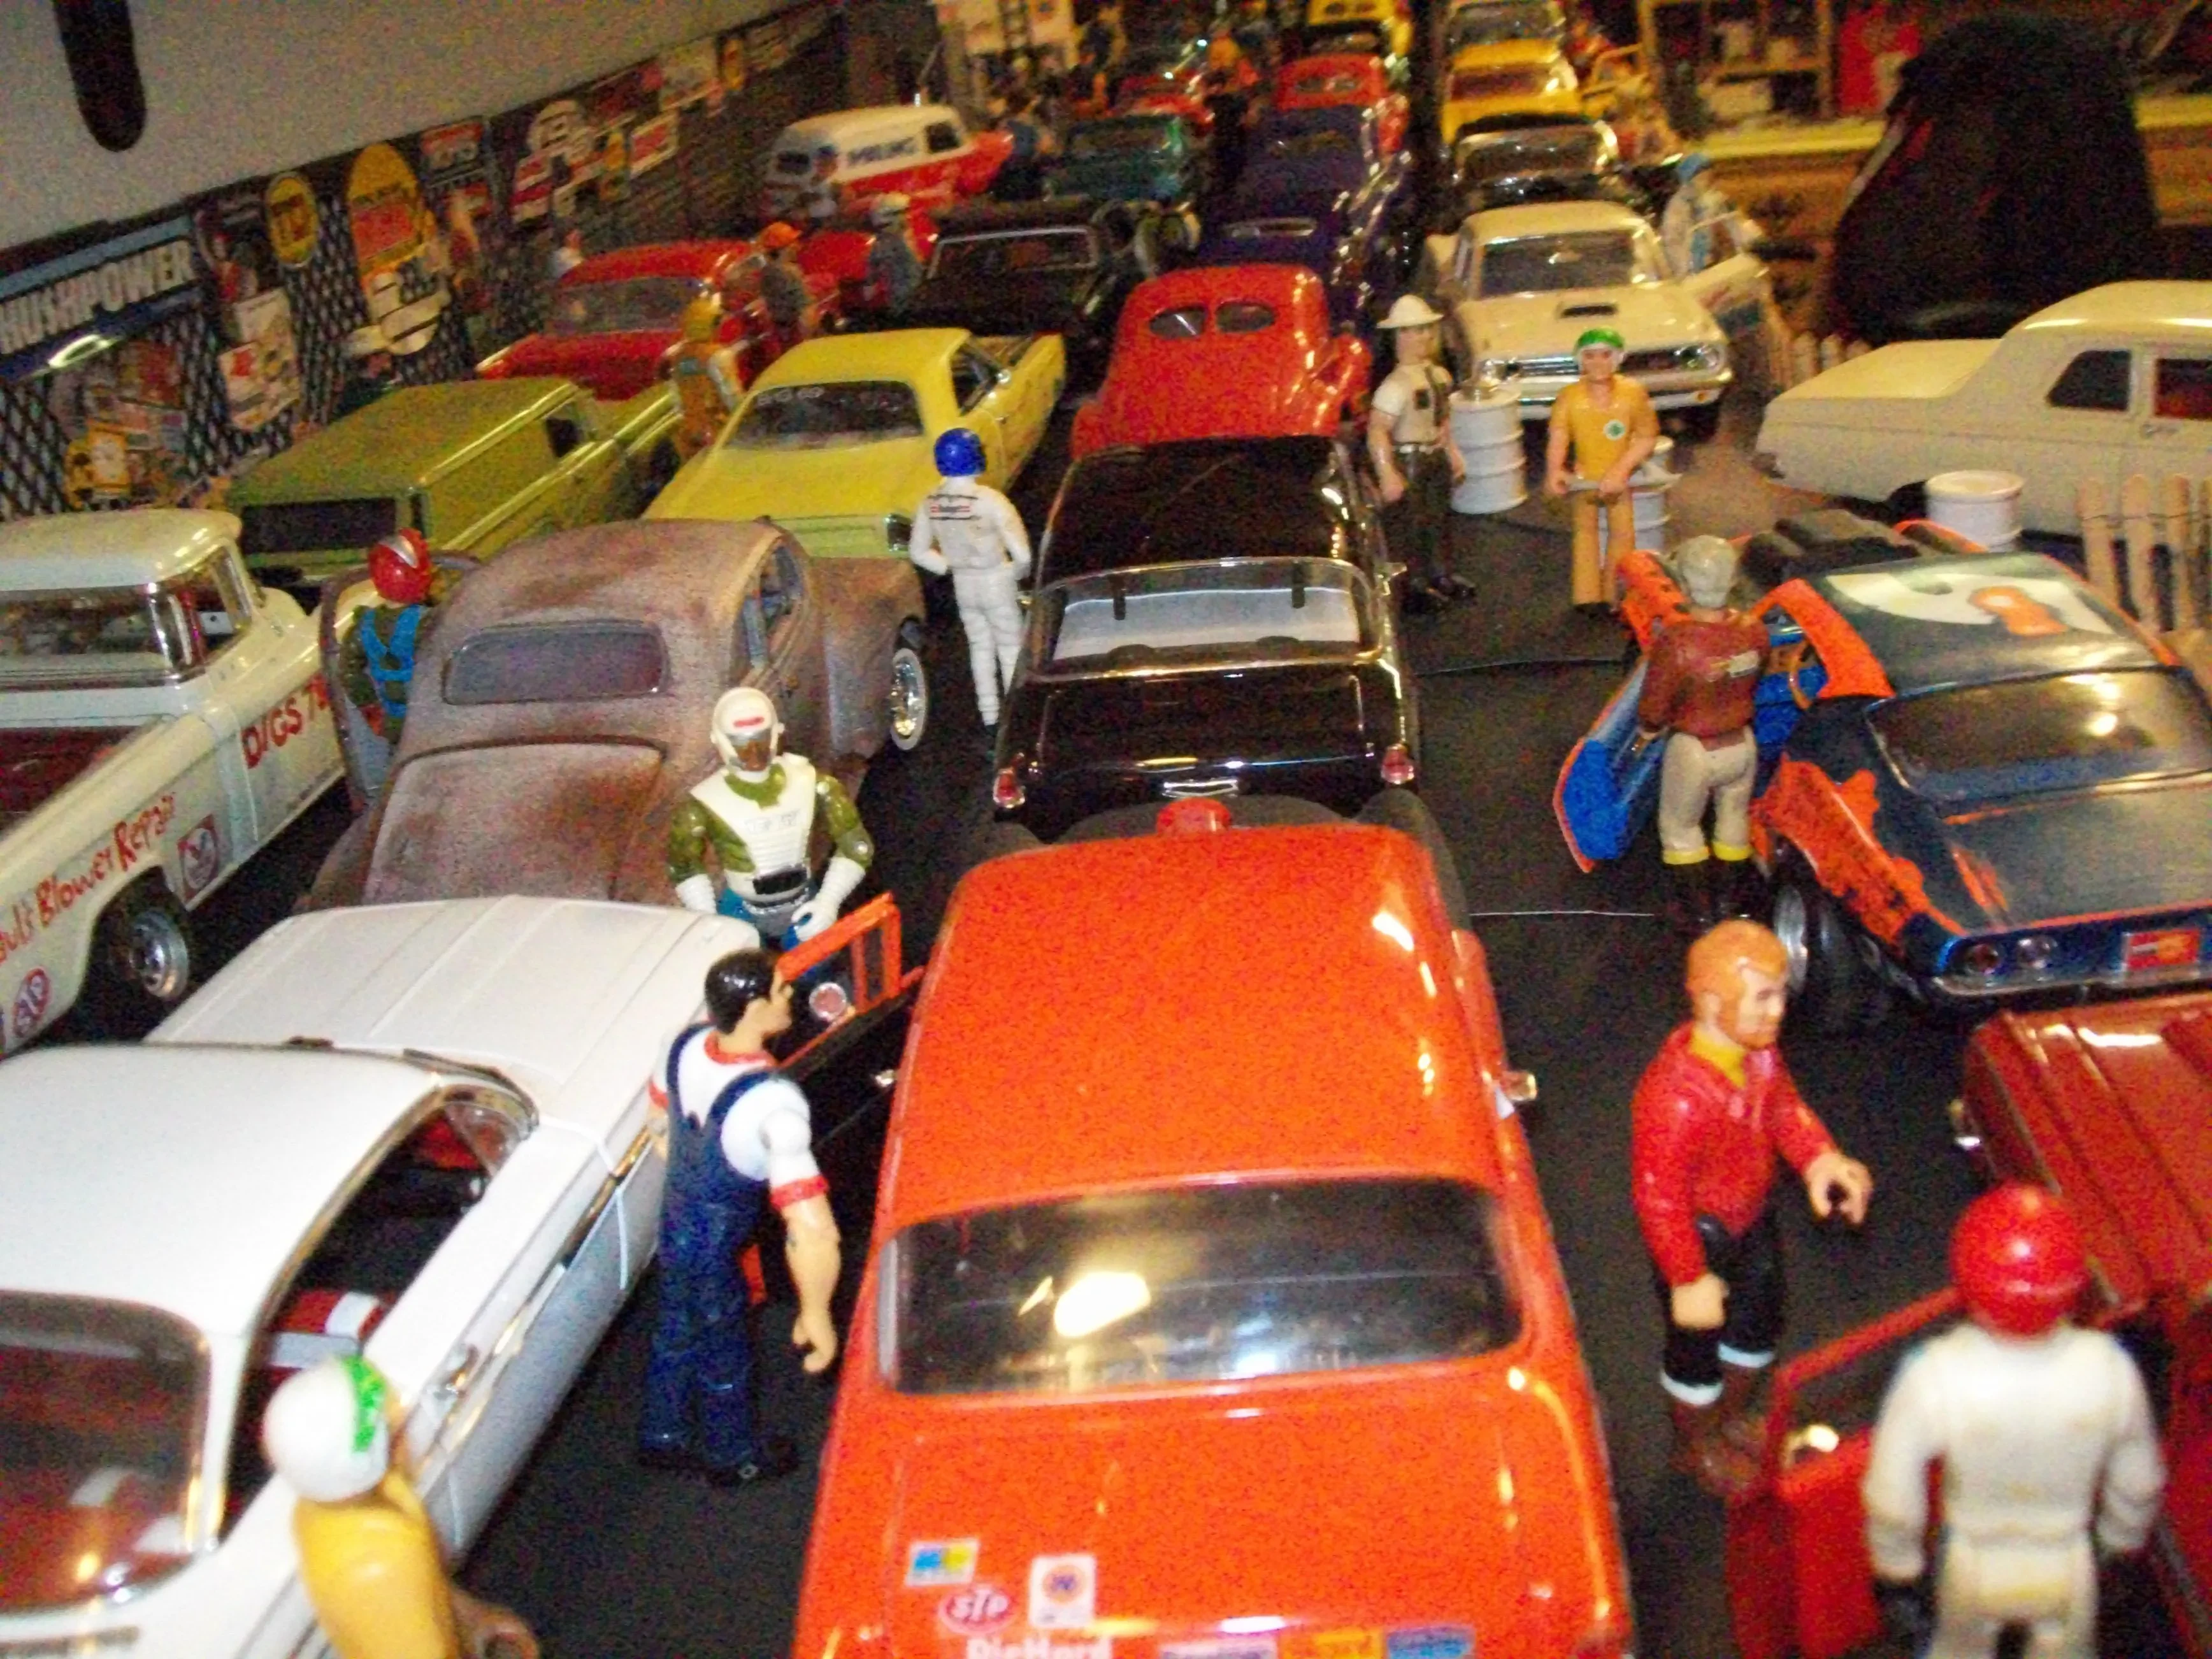
So you’re into diecast cars, huh? Maybe you’ve seen some seriously awesome custom jobs online and thought, ‘I could do that!’ Well, you’re right, you probably could. Customizing diecast cars is a rewarding hobby, and it’s easier than you might think. Let’s explore the world of HW (Hot Wheels and other brands) custom diecast cars!
The first step is selecting your base car. Think of this as your blank canvas. The possibilities are endless, from classic muscle cars to futuristic concept vehicles. The key is choosing a model that excites you and fits your vision for the custom project. Check out online marketplaces, toy stores, and even flea markets for potential candidates.

Once you’ve picked your base, it’s time to get creative! What kind of custom job are we thinking? A subtle enhancement, a complete overhaul, or something in between? Do you want to stick to the original color scheme or go for something entirely new?
Many customizers start with a simple repaint. This might involve stripping the original paint (often with a chemical paint stripper, always wear proper safety gear!), prepping the surface, and then applying your chosen color with various types of paint – enamel, acrylic, or even automotive paint are popular choices. This step alone can transform a car drastically.

Next comes detailing. This is where the magic happens! Think about adding custom decals, weathering effects, or even subtle paint chipping to create a more realistic look. You can use things like dry brushing, washes, and even clear coats to seal and protect your paint job.
For more advanced customizers, the possibilities really open up. Consider modifying the chassis, adding aftermarket parts (like custom rims and tires), swapping out interiors, or even creating custom bodies using resin or putty. These modifications often require more advanced tools and techniques.

Working with small parts requires a steady hand and the right tools. Tweezers, hobby knives, small files, and various types of glue are essential. Take your time and be patient; rushing the process can easily lead to mistakes.
Don’t be afraid to experiment! Try different techniques, colors, and styles. The beauty of custom diecast cars is that there’s no right or wrong way to do it. It’s all about your creativity and personal expression.
One popular technique is using washes. Washes are thin, diluted paints used to add depth and shading to your model. They settle into the recessed areas, highlighting details and creating a more realistic appearance.
Another key step is protecting your hard work. Once you’re happy with the paint and detailing, apply a few coats of clear coat to protect your creation. Clear coats also improve the overall look by providing a smooth, glossy finish.

Finding inspiration is easy. Browse online forums, social media, and diecast shows for ideas and techniques. Don’t be afraid to try different styles until you find what works best for you.
Remember, safety first! Always wear appropriate safety gear, especially when using chemicals like paint stripper or working with sharp tools. A well-ventilated workspace is also a must.
- Choose your base car wisely
- Plan your custom design
- Gather your tools and materials
- Prep your car for painting
- Apply paint carefully
- Add details (decals, weathering, etc.)
- Apply a clear coat
- Display your masterpiece!
Customizing diecast cars is a fantastic hobby that combines creativity, patience, and attention to detail. It’s a rewarding journey, and the sense of accomplishment you’ll feel when you finish your first custom is unparalleled. So grab some paint, unleash your inner artist, and get ready to build something amazing!

And there you have it! A comprehensive guide to customizing your diecast cars. Remember to have fun and let your creativity flow. The diecast car community is welcoming and supportive – don’t hesitate to ask questions and share your work!