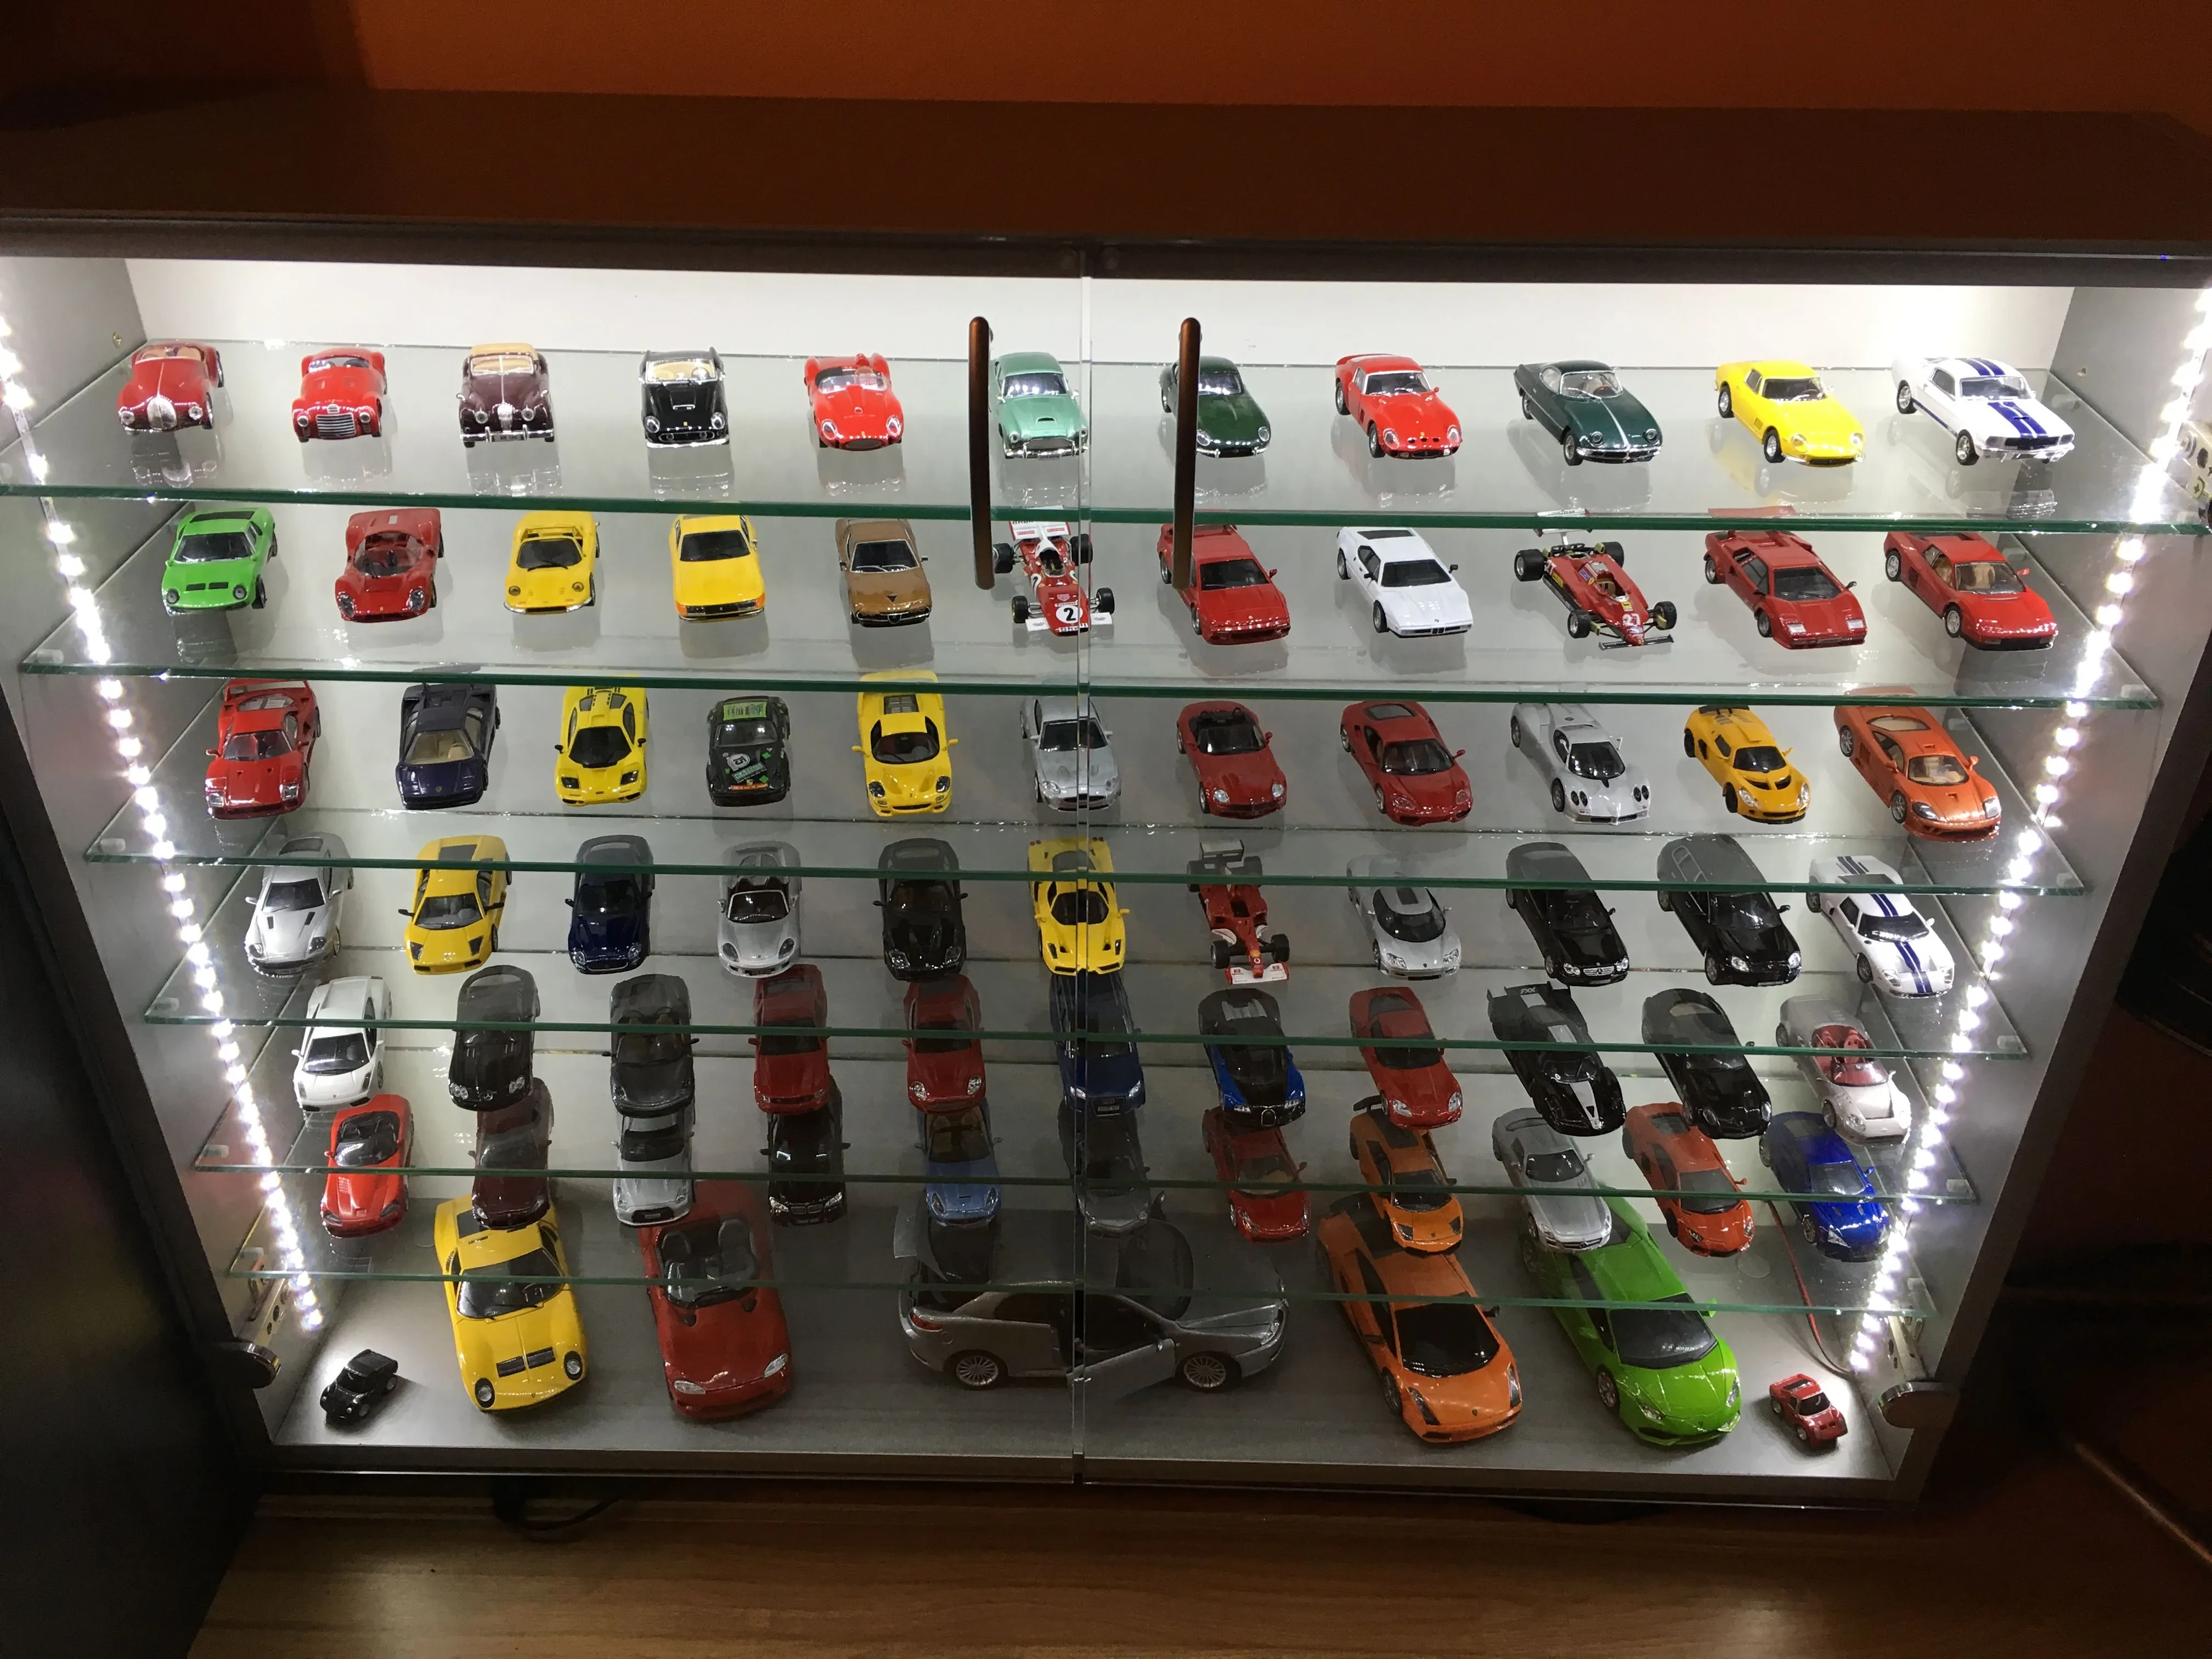
So, you’ve got a sweet collection of diecast model cars, and you want to keep them looking their best. Dust, fingerprints, and general wear and tear can take a toll on even the most pristine models. But don’t worry, cleaning your diecast cars doesn’t have to be a daunting task. With the right approach and a few simple tools, you can easily keep your collection sparkling.
Gathering Your Cleaning Supplies
Before you even think about touching your precious models, let’s get our cleaning arsenal ready. You won’t need anything fancy, just a few everyday items.
- Soft microfiber cloths (multiple, for different cleaning stages)
- Soft-bristled brush (like an old toothbrush or detail brush)
- Distilled water
- Mild dish soap (a drop or two)
- Cotton swabs
- Optional: Glass cleaner (for windows and windshields)
- Optional: Detailing clay (for stubborn dirt)
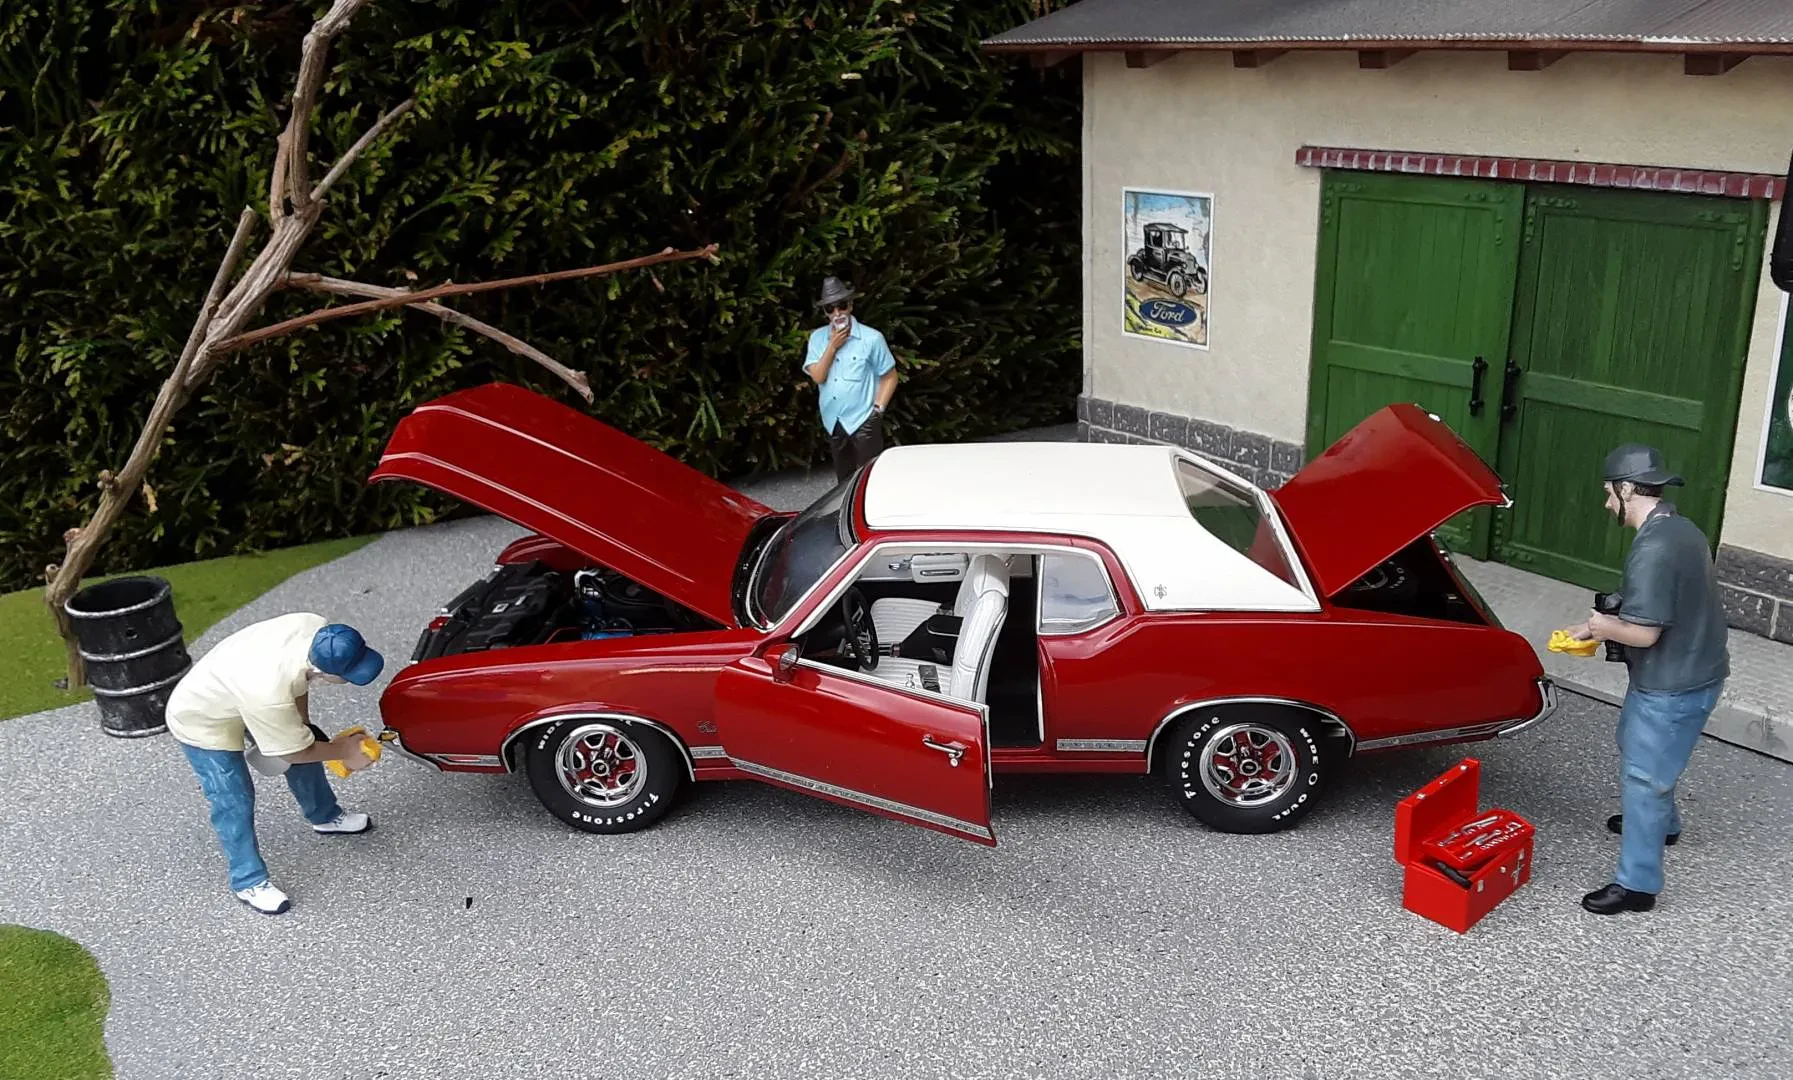
The Cleaning Process: A Step-by-Step Guide
Start with a gentle approach. Remember, these are delicate models, so we want to avoid harsh chemicals or abrasive materials.
Step 1: The Initial Dusting
Use a soft microfiber cloth to gently dust off your model. Focus on removing loose dirt and dust particles. A soft-bristled brush can help get into hard-to-reach areas like grills and wheel wells.
Step 2: The Wash (If Needed)
If your model needs a more thorough cleaning, mix a tiny amount of mild dish soap with distilled water. Dip your cloth in the solution, wring it out thoroughly to avoid excess water, and gently wipe down the car. Avoid soaking the model.
Pay extra attention to areas where dirt tends to accumulate, like the tires and undercarriage.
Step 3: Rinsing and Drying
Once you’ve cleaned the model, rinse it with distilled water. Again, avoid soaking the car. Use a clean, damp microfiber cloth to wipe away any soap residue. Then, carefully dry the model with a clean, dry microfiber cloth. Make sure to get into all the nooks and crannies to prevent water spots.
Step 4: Tackling Stubborn Dirt
For those particularly stubborn spots, you might need to use detailing clay. This is a gentle clay bar specifically designed for removing embedded dirt and grime from car surfaces. Be sure to follow the instructions that come with your clay bar, usually involving a lubricant spray.
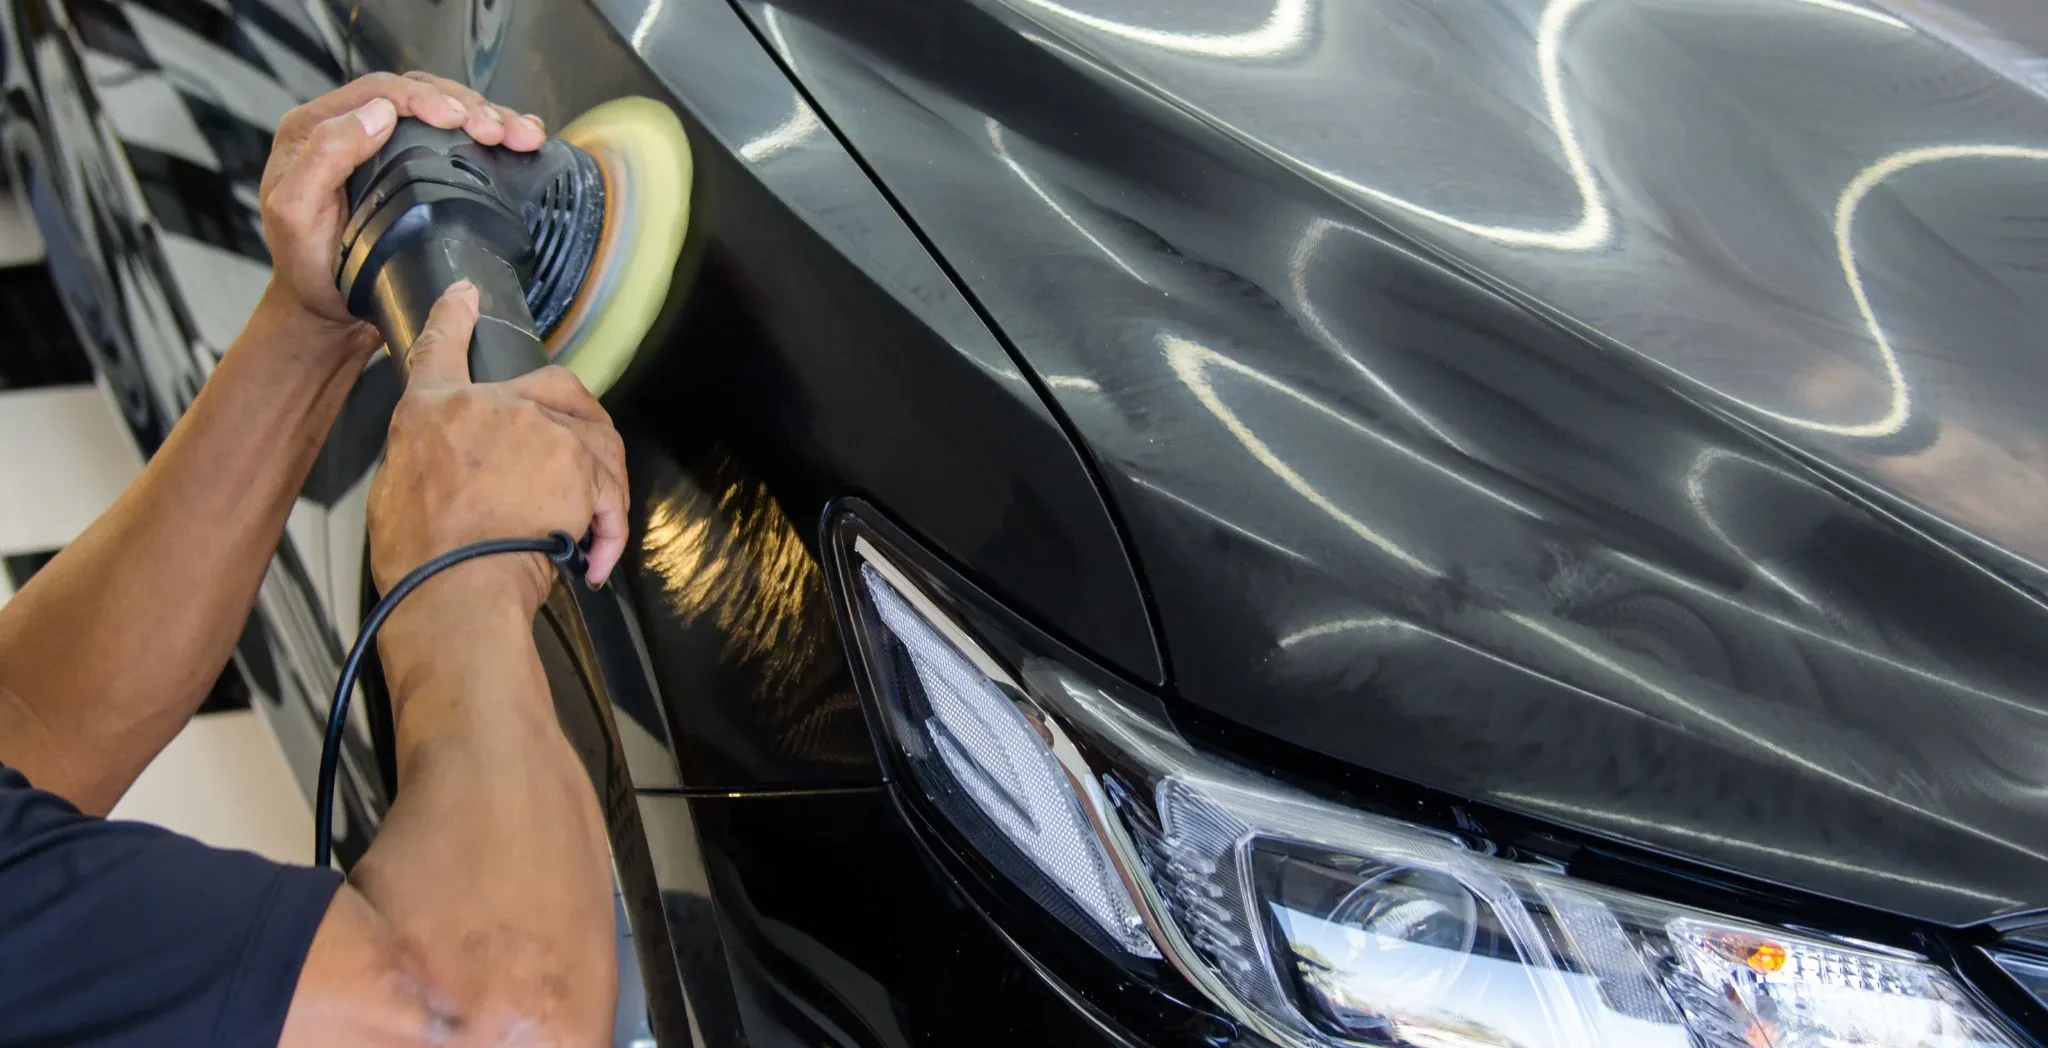
Step 5: Final Touches
Once everything is dry, use cotton swabs to clean hard-to-reach areas like tiny details and crevices. For windows and windshields, a spritz of glass cleaner can work wonders, followed by a gentle wipe with a clean cloth.
And there you have it! Your diecast model is now sparkling clean and ready to be displayed. Remember to handle your models with care and avoid touching them excessively to maintain their pristine condition.
