So you’ve got a collection of diecast cars, but they’re all looking a bit…samey? Don’t worry, you’re not alone! Many diecast enthusiasts crave a way to personalize their collection and give their models a unique touch. This guide will show you how to modify your diecast cars, from subtle tweaks to complete overhauls.
Gathering Your Tools and Materials
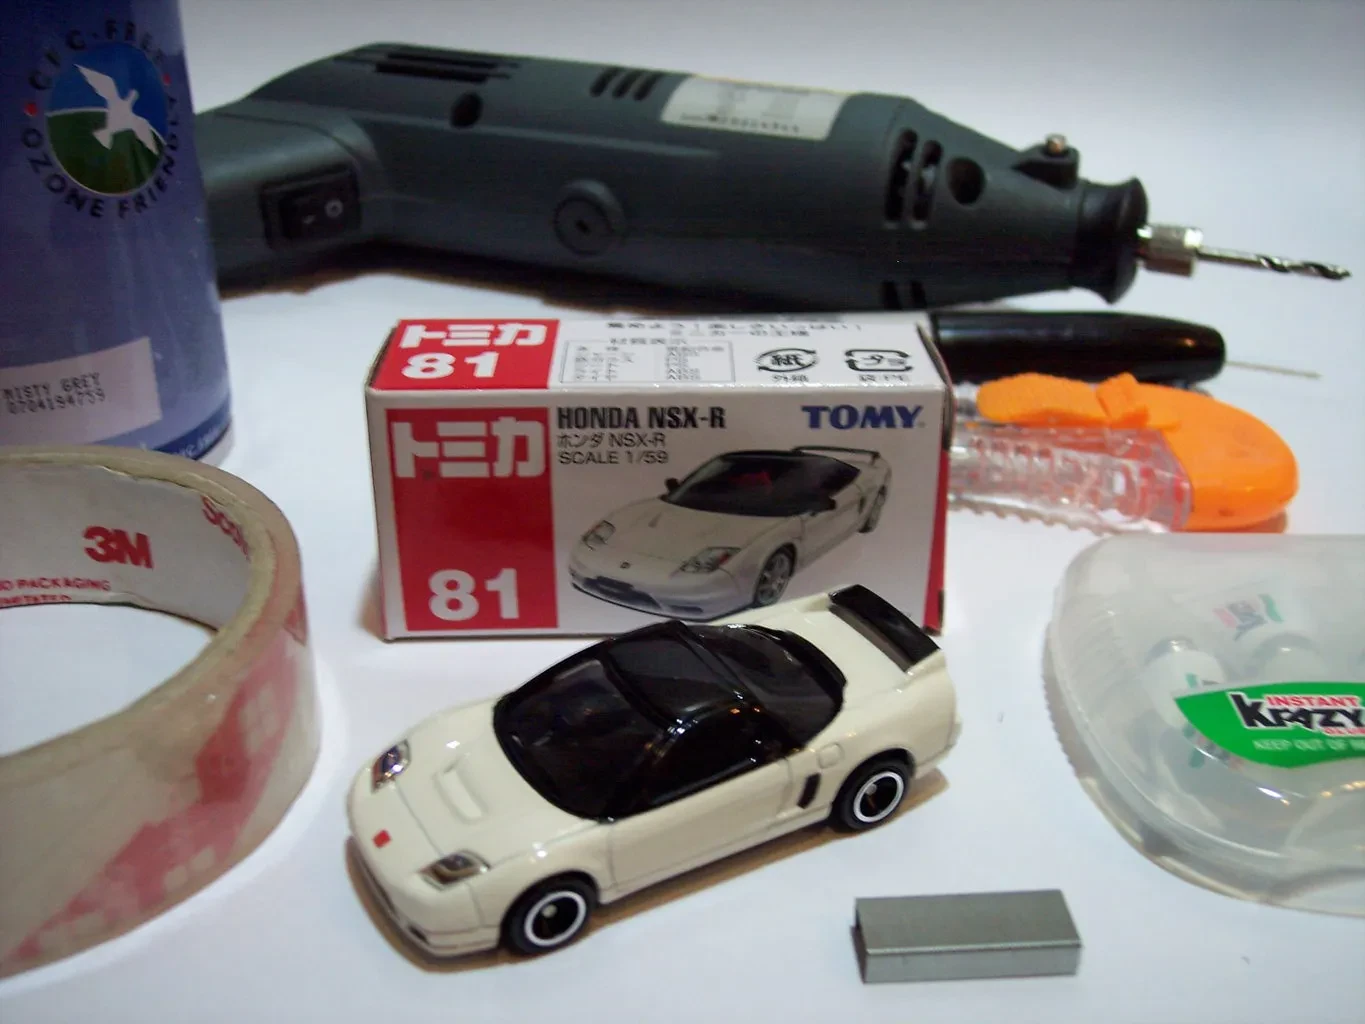
Before you start tearing apart your prized possessions, gather the right tools. You don’t need a full workshop, but a few essentials will make the job much easier and cleaner. These include small screwdrivers (various sizes), hobby knives, tweezers, fine-grit sandpaper (various grades), a modeling brush or two, and a work surface. You will also need your chosen paints, glues (super glue and modeling glue are good to have), and any other materials for specific modifications.

Essential Supplies
- Small screwdrivers (Phillips and flathead)
- Hobby knife with extra blades
- Tweezers
- Fine-grit sandpaper (1000, 2000, and higher)
- Modeling brushes (various sizes)
- Acrylic paints (various colors)
- Super glue
- Modeling glue
- Clear coat sealant
Simple Modifications: The Easy Wins
For beginners, starting with simple modifications is key. This helps you get comfortable with the process and gain confidence before tackling bigger projects. These include things like cleaning, detailing, and minor paint touch-ups.
Cleaning Your Diecast
Before any modification, clean your diecast thoroughly. Use a soft brush to remove dust and debris from hard-to-reach places. A slightly damp cloth can gently remove more stubborn grime. Let it dry completely before proceeding.

Detailing
Adding details like tampos or small decals can dramatically improve the car’s look. Be sure to find decals that match the car’s scale and carefully apply them, avoiding air bubbles.

Minor Paint Touch-Ups
If your diecast has minor chips or scratches, carefully touch them up with paint that closely matches the original color. Use thin coats to avoid runs or drips, and let each layer dry completely before applying the next.
Intermediate Modifications: Stepping It Up
Once you’re comfortable with the basics, you can move on to more involved modifications. This might include repainting parts of the car, adding aftermarket parts, or even custom-making parts.
Repainting Parts
You can carefully disassemble parts of your diecast (such as wheels or bumpers) and repaint them. Remember to mask off any areas you don’t want painted and apply multiple thin coats for a smooth finish. Use appropriate primers and sealants for best results.

Adding Aftermarket Parts
From custom wheels to new spoilers, the world of aftermarket diecast parts is vast. You can find these online from various hobby shops or other collectors. Make sure the parts are compatible with your diecast model.
Advanced Modifications: For the Experienced Hobbyist
Advanced modifications require more skill and precision, but the results can be truly stunning. This could involve complete repaints, scratch-building parts, and even engine detailing.
Complete Repaints
A complete repaint transforms your diecast into something entirely new. This requires careful preparation, proper priming, and multiple layers of paint and sealant. Consider using an airbrush for a professional finish.

Remember to always prioritize safety when working with tools and materials. Have fun and enjoy the process of transforming your diecast cars into unique and personalized pieces of your collection!