So, you’ve got a sweet ride and you’re itching to immortalize it in miniature diecast form? It’s a more involved project than you might think, but the end result – a perfectly scaled replica of your car – is totally worth the effort. Let’s dive into the exciting world of custom diecast creation!
Planning and Preparation: The Foundation of Your Diecast
Before you even think about touching a tool, you need a solid plan. This isn’t about slapping some paint on a toy car; we’re aiming for accuracy and detail. First, get some good reference material. Take tons of pictures of your car from every angle. Include close-ups of the wheels, headlights, grille, and any unique features. The more detailed your photos, the easier it will be to replicate your car accurately.
Next, decide on your scale. Common scales for diecast models are 1:18, 1:24, and 1:64. A 1:18 scale will be larger and allow for more detail, but it’s also more challenging and costly. A smaller scale, like 1:64, will be easier to manage but might sacrifice some intricate detailing.
Consider your skill level. Are you a seasoned model builder, or are you just starting out? Choosing a simple car design with fewer intricate details might be a better option if you are a beginner.
Choosing Your Base Model
You’ll need a base model car that closely resembles your own. This is where you’ll do some hunting. Check online marketplaces, hobby shops, or even garage sales for a diecast car that’s in the right scale and has a similar body style. It doesn’t need to be the same make and model, just similar enough to work with.

Remember, this is your starting point. You’ll be modifying it extensively to match your car.
Gathering Your Tools and Materials
- Fine-grit sandpaper
- Hobby knife or modeling tools
- Putty (automotive or epoxy)
- Primer
- Paints (match your car’s color)
- Clear coat
- Detail brushes
- Decals (optional, for logos and markings)
- Glue

Make sure you have a well-ventilated workspace, safety glasses, and a mask to protect yourself from fumes.
The Modification Process: Sculpting Your Dream Diecast
Now comes the fun (and sometimes challenging) part: modifying the base model. This might involve sanding down parts, adding putty to build up sections, or even completely reshaping elements. Take your time; patience is key here. Refer frequently to your reference photos to ensure accuracy.
Once you’ve reshaped the body, it’s time for priming. Primer provides a uniform surface for the paint to adhere to. Sand it smooth after it dries for a flawless finish.
Next, it’s painting time! Use high-quality paints designed for models. Apply thin coats to avoid runs and allow each coat to dry completely before applying the next. Multiple thin coats are better than one thick coat.

After the paint has dried thoroughly, apply a clear coat to protect your work and add shine. Let it dry completely before adding any decals.
Finally, add those finishing touches. This includes things like headlights, taillights, and any other small details that will truly make your diecast stand out.
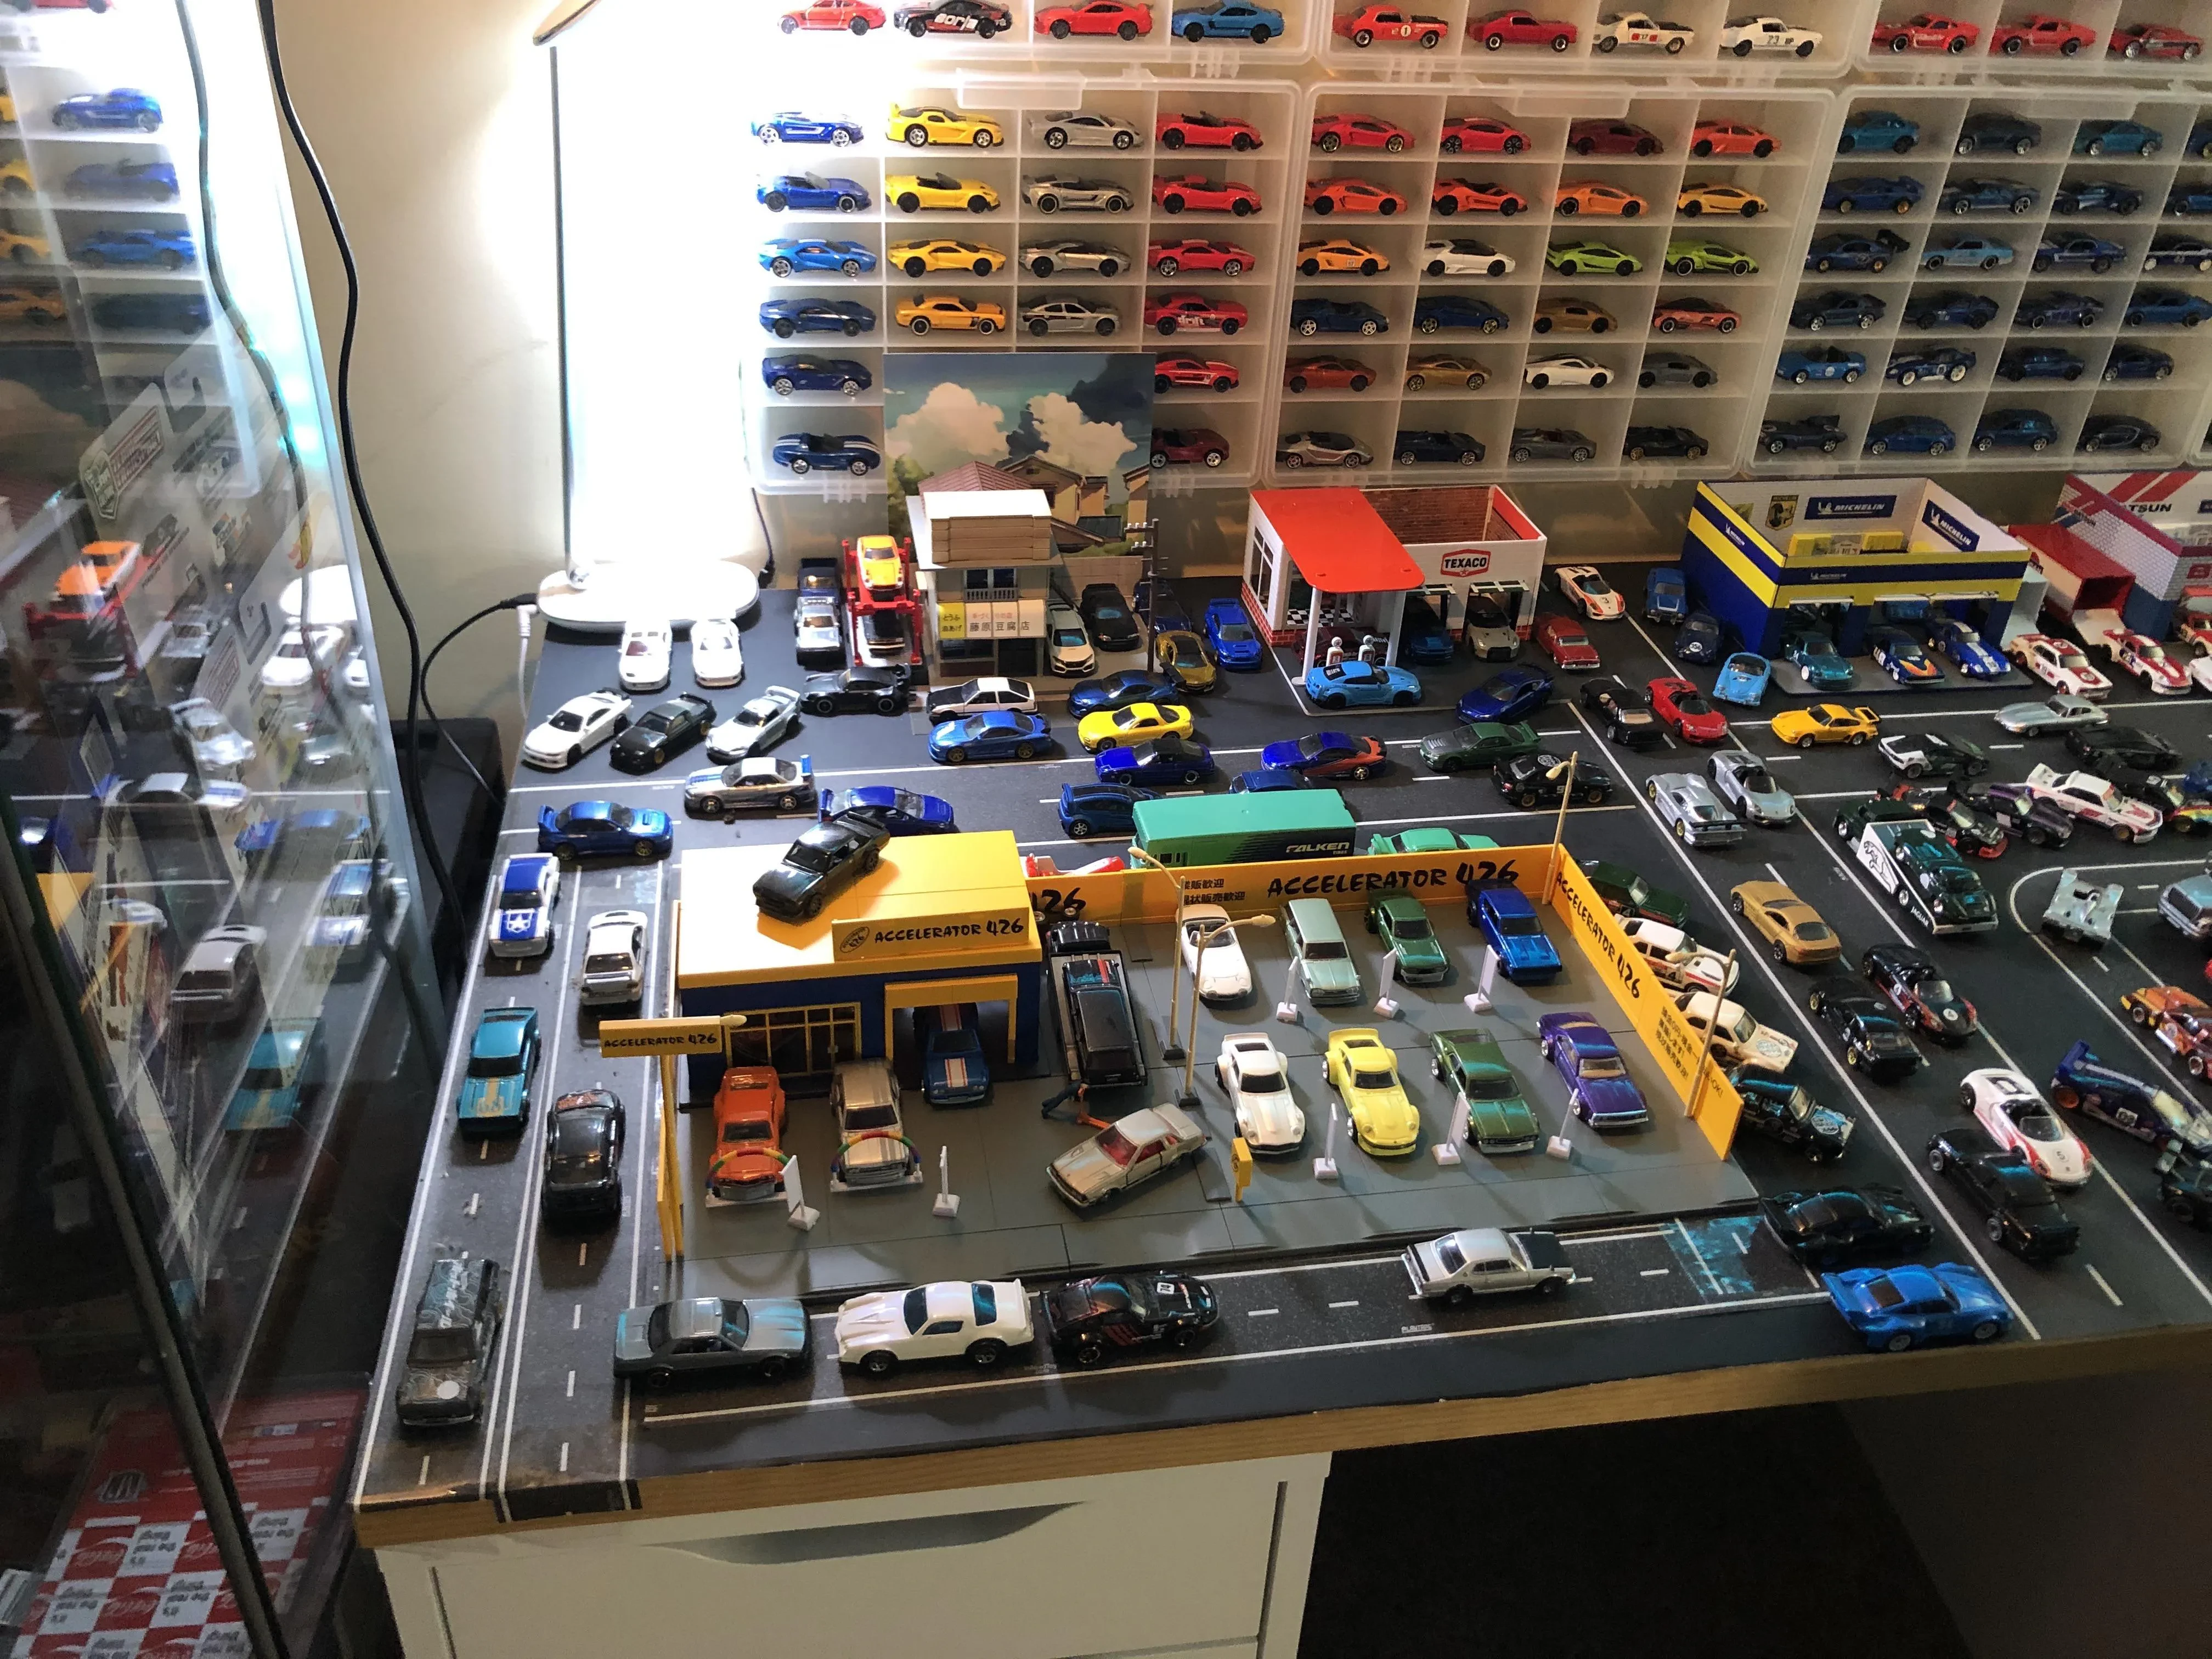
Showcasing Your Creation
Congratulations! You’ve created a one-of-a-kind diecast replica of your car. Now, display it proudly! You can place it on a shelf, inside a display case, or even create a custom diorama to showcase your awesome handiwork. The possibilities are endless!
