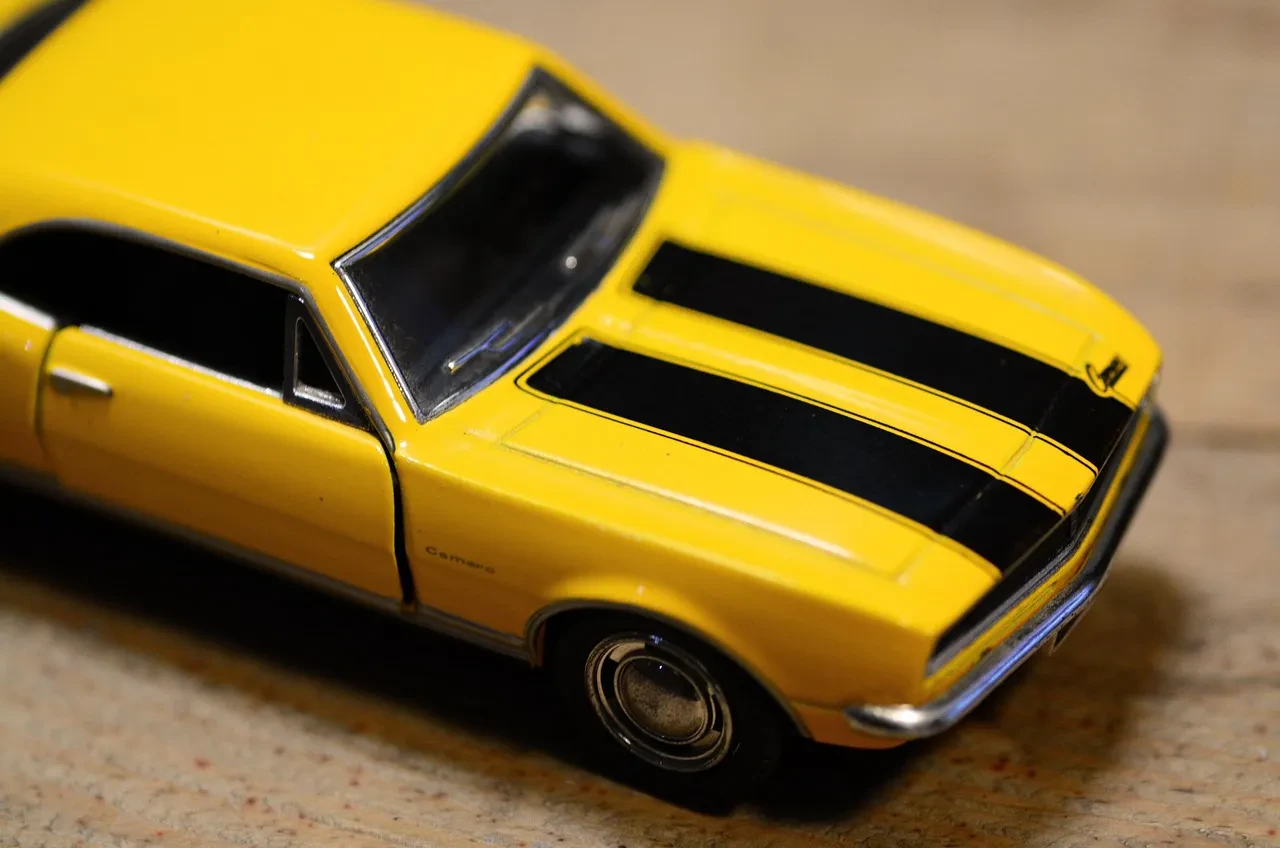
So, you’ve got a box (or maybe a room!) full of diecast model cars, some looking pristine, others… well, let’s just say they’ve seen better days. Maybe they’re dusty, scratched, or even missing parts. Don’t despair! Restoring diecast cars can be a rewarding hobby, breathing new life into these miniature automotive masterpieces. This guide will walk you through the process, from assessment to final touches.
Assessing the Damage
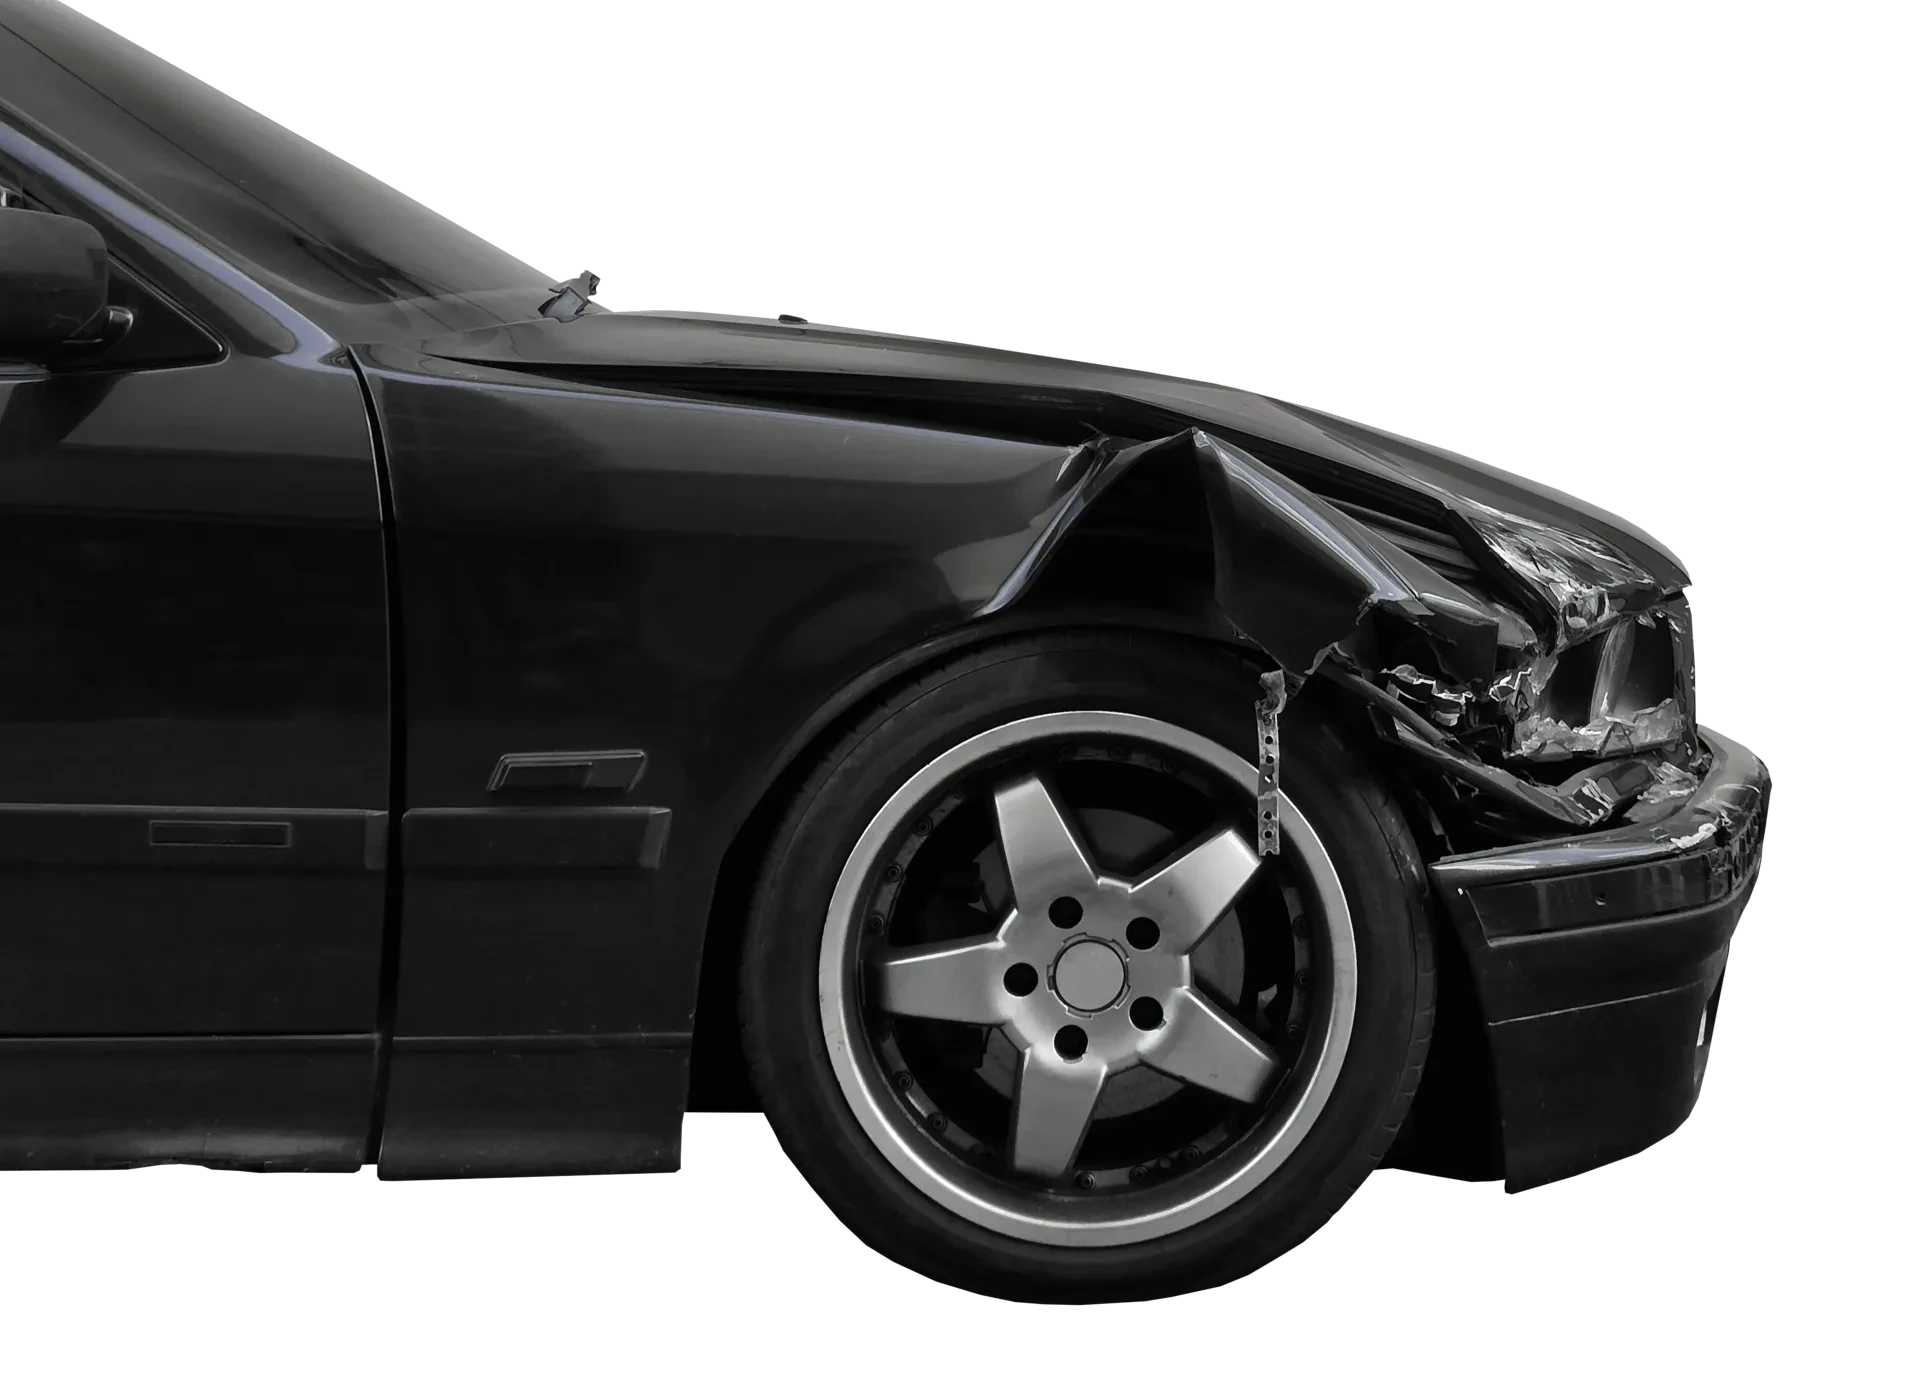
Before you dive in, take a good look at your car. What needs fixing? Are we talking minor scratches, or major damage like a broken part? Knowing the extent of the damage helps you plan your approach and gather the necessary materials. Take photos to document the before-and-after.
Common Problems
- Scratches and scuffs
- Faded or chipped paint
- Missing parts (wheels, mirrors, antennas)
- Loose or broken windows
- Sticky or rusted hinges
Gathering Your Arsenal
You won’t need a full-blown workshop, but a few key tools and materials will make the job easier. Think of it as your diecast doctor’s kit!
- Soft cloths (microfiber is best)
- Mild dish soap
- Distilled water
- Toothbrushes (old ones are perfect!)
- Cotton swabs
- Rubbing alcohol
- Acrylic paints (matching the car’s color)
- Clear coat spray
- Small screwdriver
- Superglue (use carefully!)
Cleaning is Key
Start by giving your car a gentle wash. Use warm water, mild soap, and a soft cloth. Avoid harsh chemicals or abrasive cleaners. Pay close attention to crevices and hard-to-reach areas. Rinse thoroughly and let it dry completely.
For stubborn dirt, a toothbrush can be helpful. For really tough grime, try soaking the car (if it’s non-metal) in a mild soapy solution for a short time. Remember to always test a small inconspicuous area first to check for any reaction to your cleaning solutions.
Addressing Scratches and Paint Chips
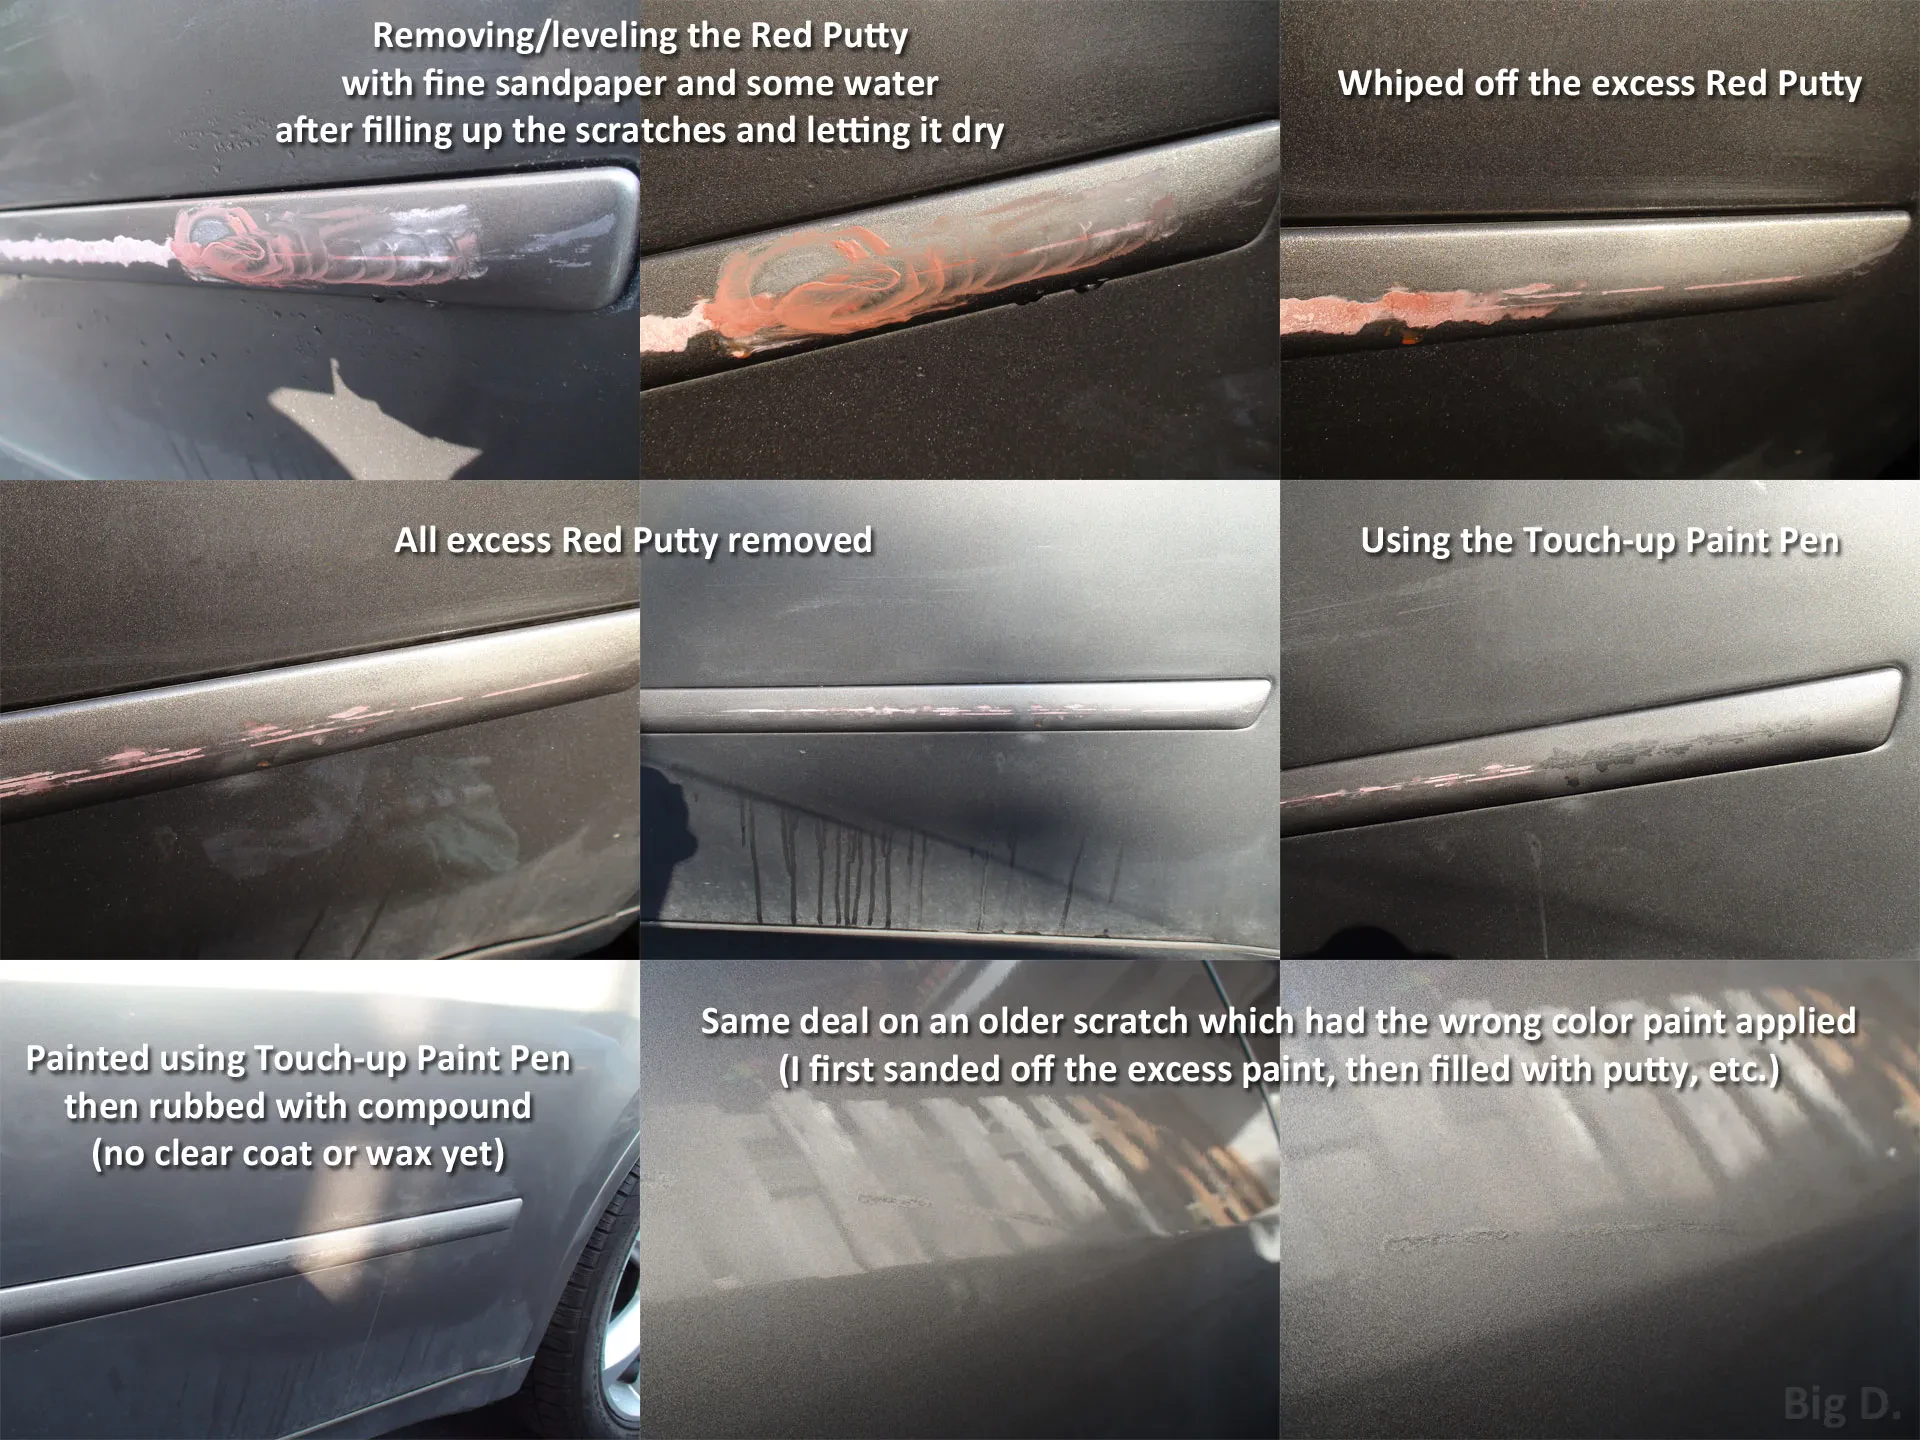
Small scratches can often be buffed out with a polishing compound or a very fine-grit sandpaper (use with extreme caution!). For deeper scratches or chipped paint, you might need to use touch-up paint. Apply thin coats, allowing each to dry before adding more. Once dry, a clear coat spray will protect the repair and give it a nice shine.
Matching the paint color precisely can be tricky, so you may need to experiment with mixing different shades to get a close match. Don’t be afraid to practice on a less visible area before tackling the main body.
Repairing Broken Parts
Replacing missing or broken parts is sometimes possible. Check online marketplaces or diecast car forums for replacement parts. If you can’t find them, you might need to get creative – a tiny dab of super glue can work wonders, but be precise and patient. Use a toothpick or similar fine instrument for very precise application. Let it cure fully before handling the car.
For more complex repairs, you might need to consider 3D printing as a replacement part option. Online services often offer this possibility and the precision can sometimes surpass even original parts.
The Finishing Touches
Once everything is repaired and dry, give your car a final polish with a soft cloth. This will remove any dust and reveal its restored beauty. Display your beautifully restored diecast car with pride!
