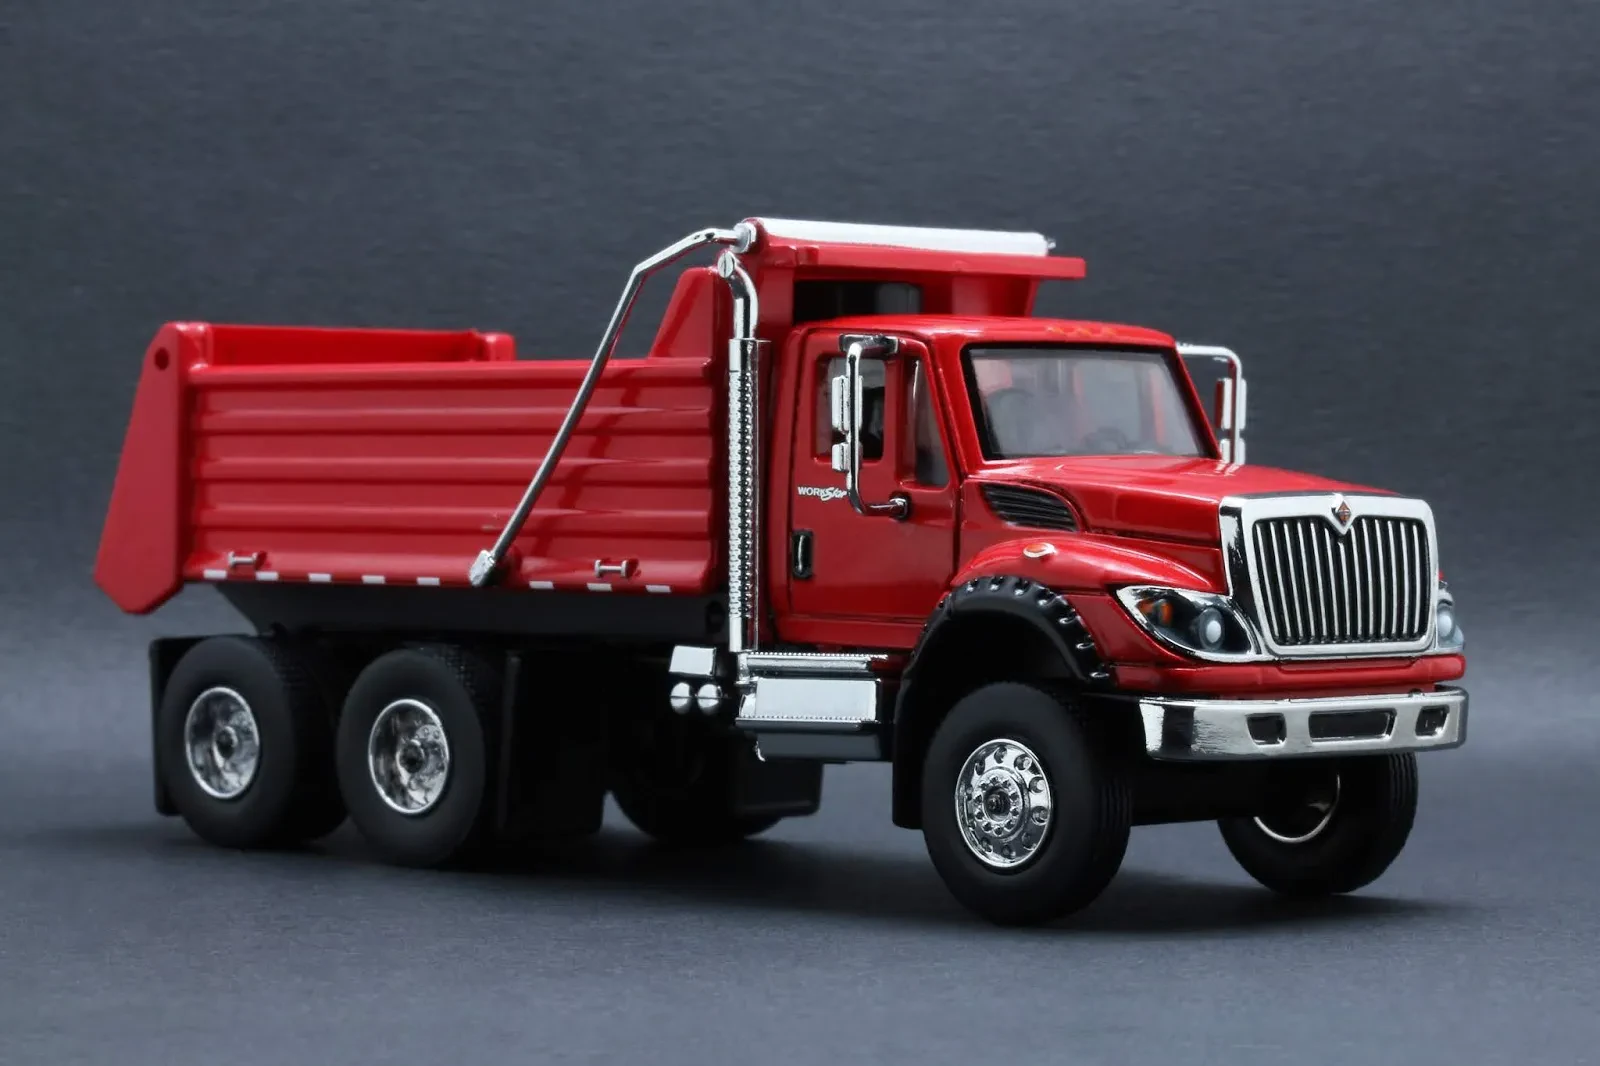
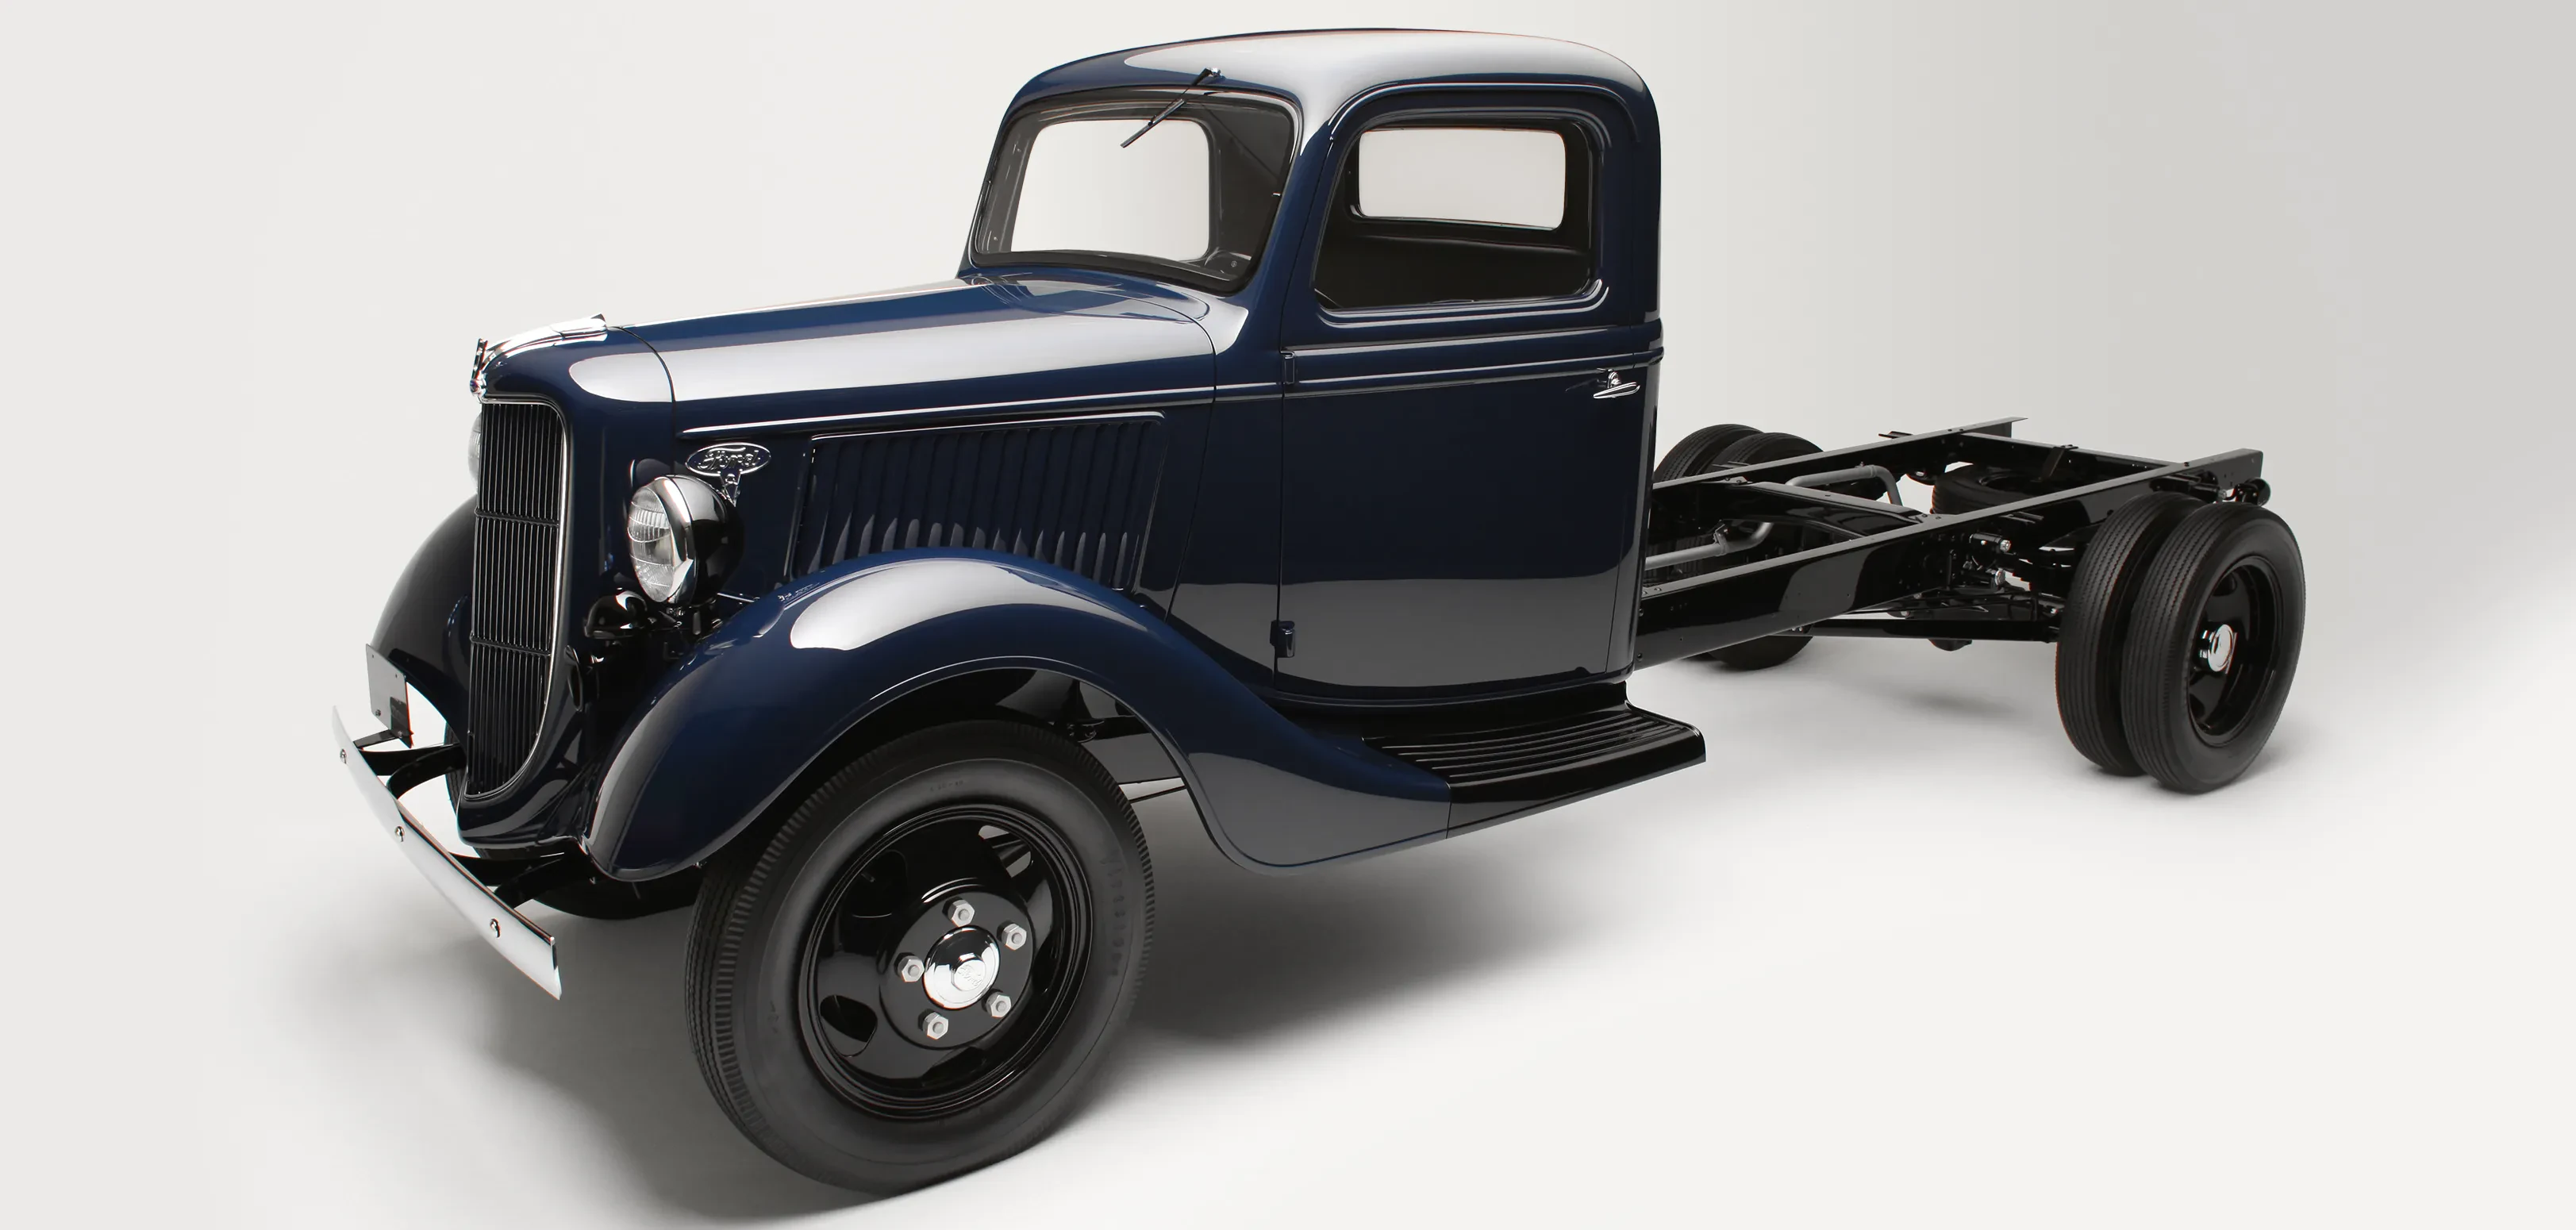
So, you’ve got a box full of diecast trucks, some pristine, some… less so. Maybe they’re family heirlooms, lucky finds at flea markets, or just trucks you loved as a kid. Whatever the reason, there’s something deeply satisfying about bringing these little metal beauties back to life. This guide walks you through the process of restoring your diecast trucks, from simple cleaning to more advanced techniques.
Assessing the Damage
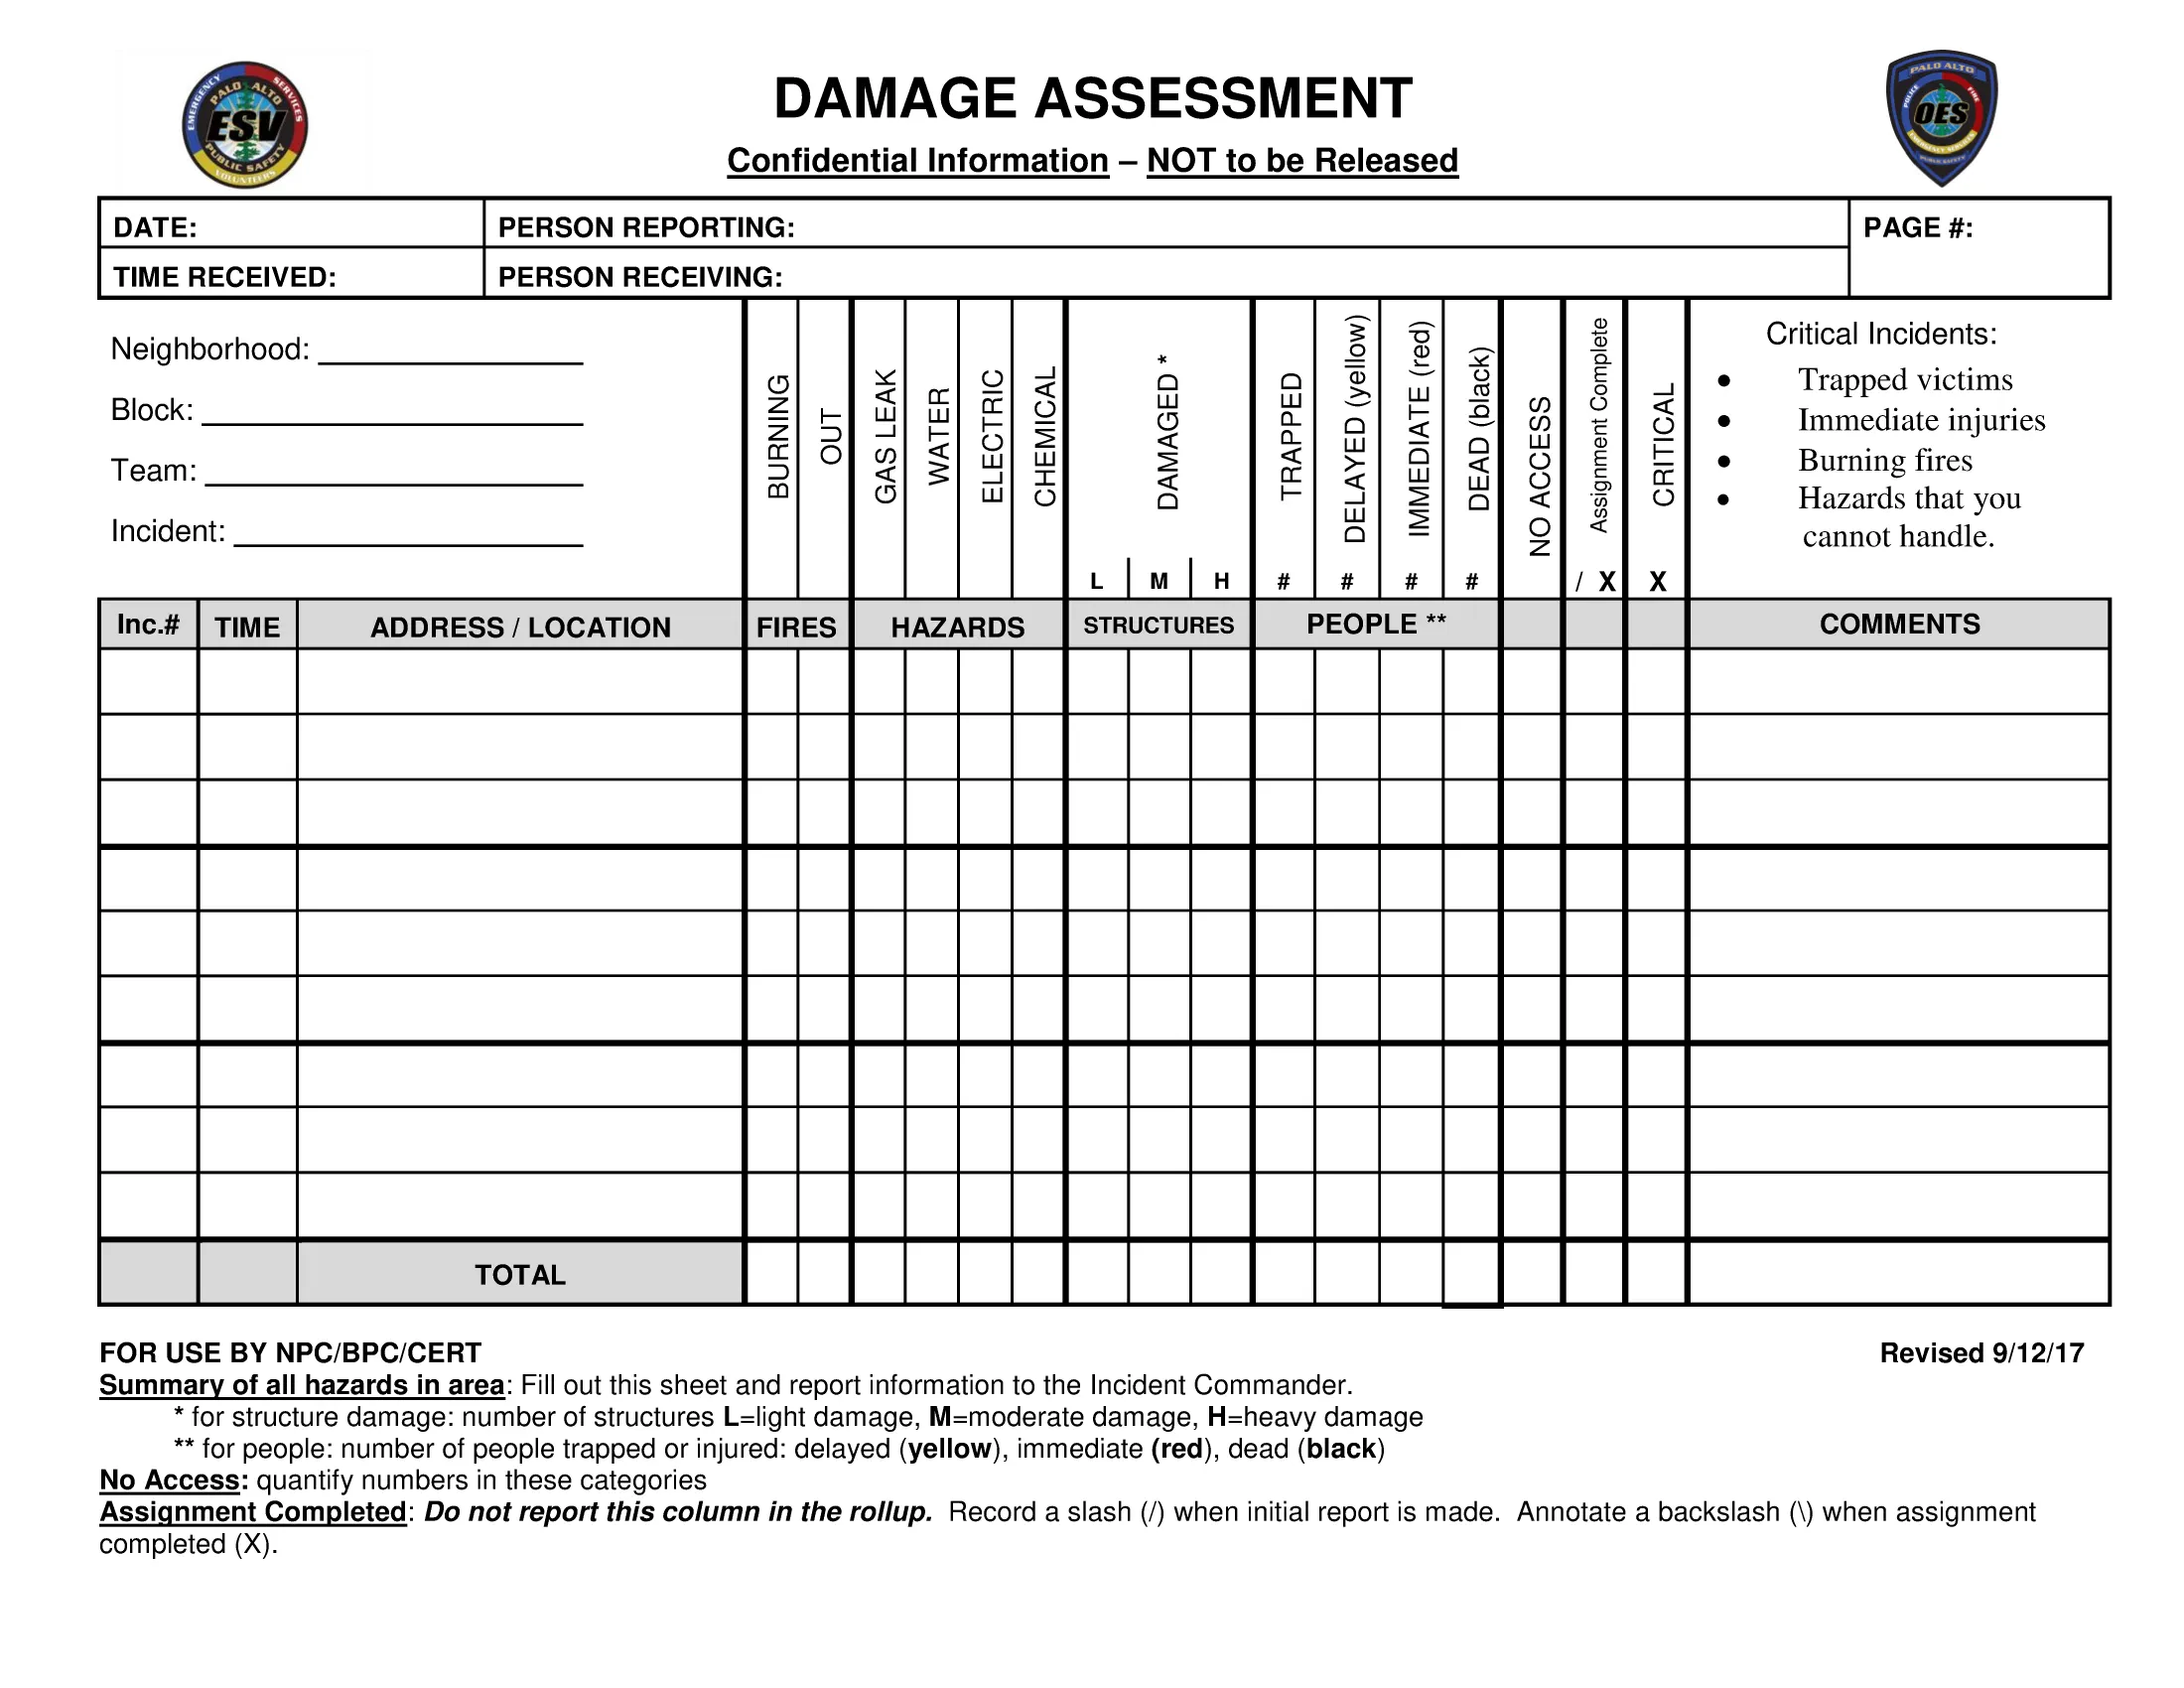
Before you dive in, take a good look at your trucks. What kind of shape are they in? Are we talking a quick dusting, or a full-blown restoration project? Note any scratches, dents, peeling paint, rust, or missing parts. This assessment will help you plan your approach and gather the necessary supplies.
Gathering Your Arsenal
You won’t need a full-blown workshop, but some basic supplies will come in handy. Here’s a starting point:
- Soft cloths (microfiber is ideal)
- Mild dish soap
- Warm water
- Toothbrush (soft-bristled)
- Cotton swabs
- Isopropyl alcohol (for stubborn grime)
- Small paintbrushes (for detail work)
- Acrylic paints (matching the original color if possible)
- Clear coat sealant (optional, for protection)
- Tweezers (for handling small parts)
- Hobby knife (for removing stubborn dirt or paint)
- Fine grit sandpaper (for smoothing out imperfections)
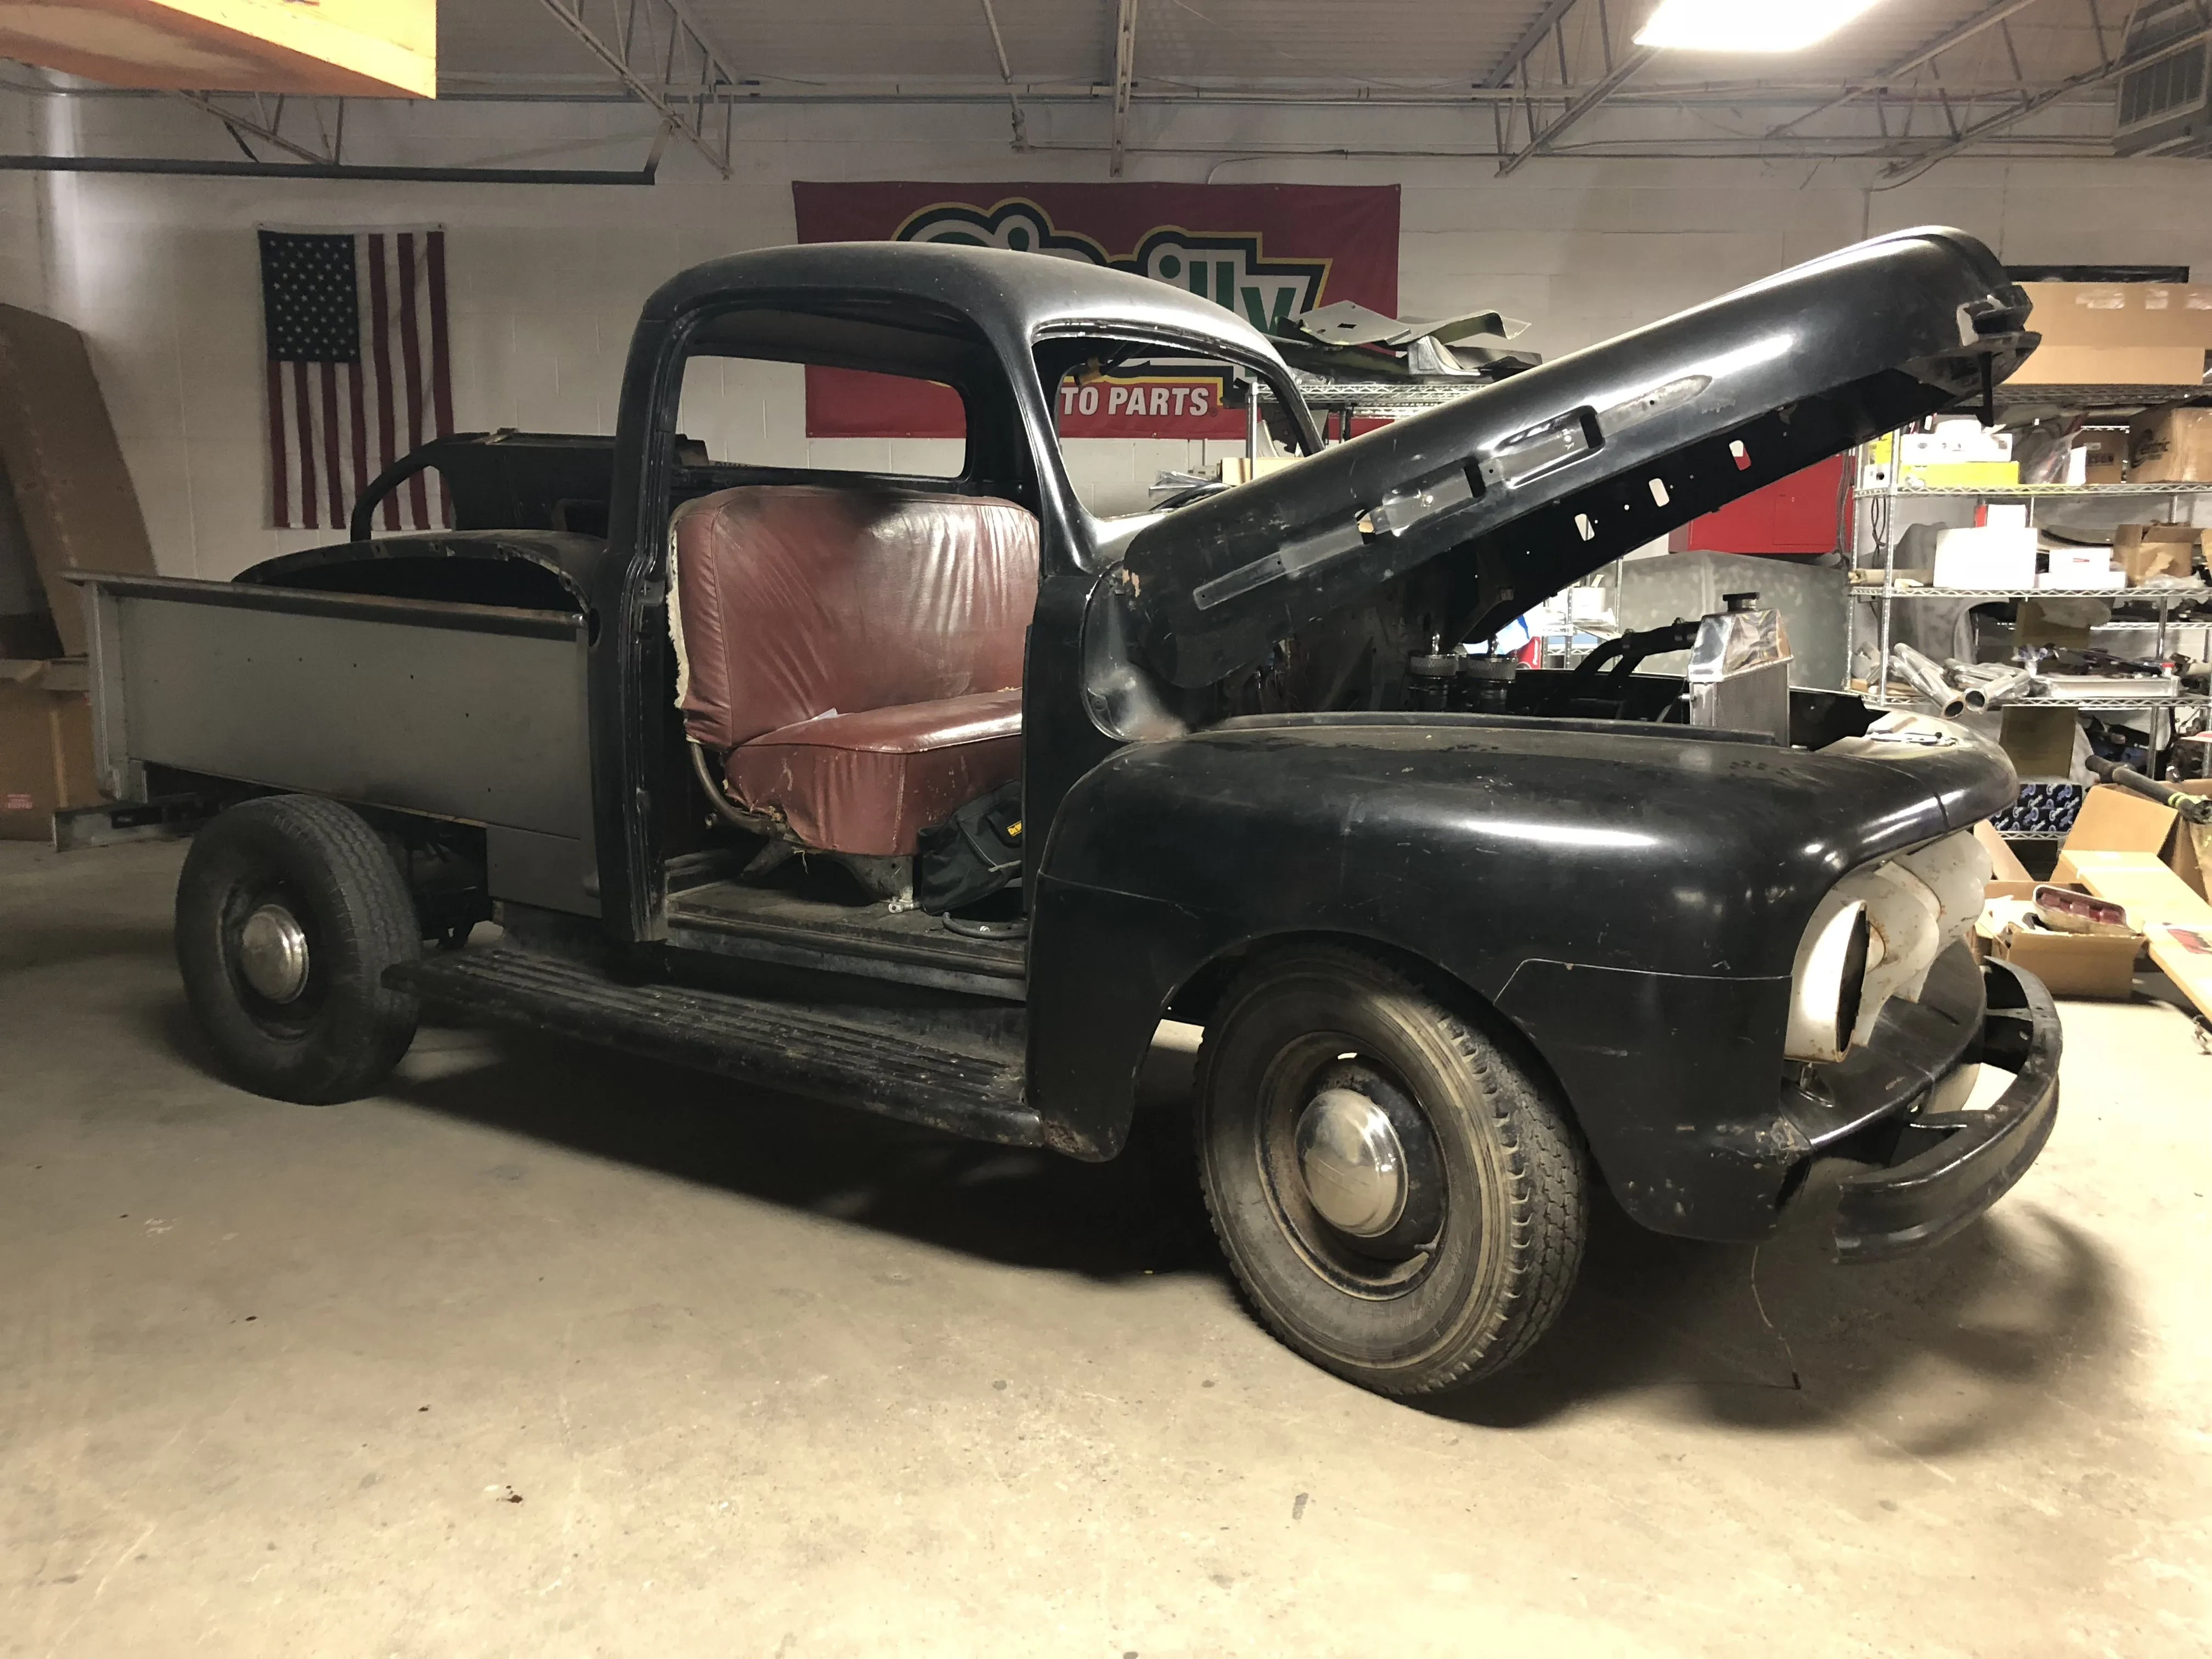
The Restoration Process: A Step-by-Step Guide
Cleaning is Key
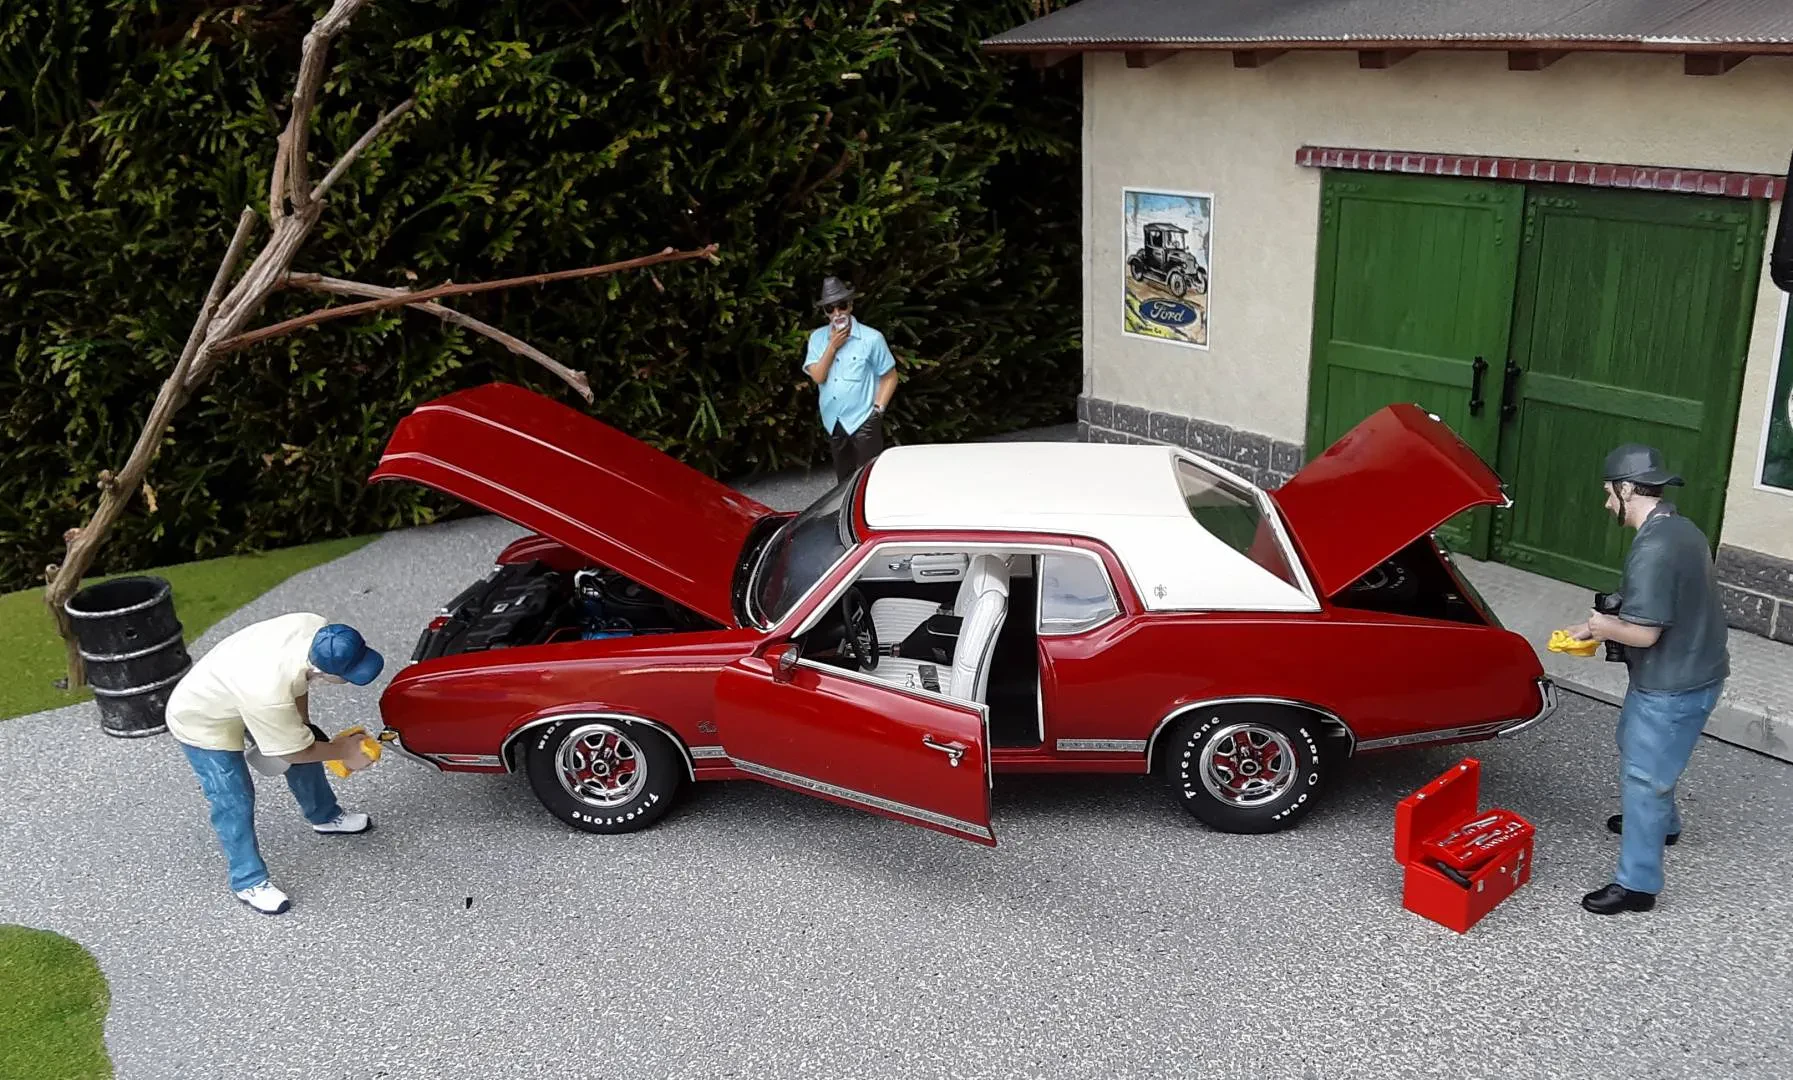
Start by gently wiping down your truck with a damp cloth and mild soap. Pay close attention to crevices and hard-to-reach areas. Use a soft toothbrush to get into those nooks and crannies. For stubborn dirt, use a cotton swab dipped in isopropyl alcohol. Let it air dry completely.
Addressing Minor Imperfections
Small scratches can sometimes be buffed out with very fine grit sandpaper and a gentle hand. Work in the direction of the scratch and be incredibly careful not to remove too much paint. Follow up with a clear coat if needed.
For more significant damage, you may need to resort to touch-up paint. Use a small paintbrush and apply the paint thinly in several layers, allowing each layer to dry before applying the next. Patience is key here!
Dealing with Missing Parts
Replacing missing parts can be tricky. You might be able to find replacements online through diecast forums or auction sites. Otherwise, you could try to carefully recreate the missing part using modeling clay or putty. This is a more advanced technique, requiring patience and skill.
Protecting Your Restoration
Once you’ve finished your restoration, consider applying a clear coat sealant to protect your work. This will help preserve the paint and keep your truck looking its best for years to come. Let it dry completely according to the manufacturer’s instructions.
Displaying Your Restored Treasures
After all that hard work, show off your beautifully restored diecast trucks! Display them in a dust-free case or on a shelf where they can be admired. Remember, these are now part of your collection’s history, representing a moment of your time, dedication, and love for this hobby.
